I thought it would be cool to fully document my Metro amp build, for a few reasons. First off, I thought this could be a valuable resource to those contemplating their own builds. Secondly, I could document any troubles that I have, to prevent others from experiencing the same difficulties. Lastly, this will be an interesting diary of my first amp build.
I plan to take a lot of time on this build, because I want to come away with a greater understanding of the theory involved, as well as a great sounding amp.
My order looked like this:
100 Watt Plexi Amplifier Complete Kit
* Specs - Superlead
* Head Case - Red
* Signal Capacitors - SoZo Mustard +
* Tubes - Mullard reissue EL34 and 12AX7
* Transformers - Metroamp 1203-80-MS, C1998
Lar/Mar PPI MV Kit (will wait to install this until kit is fully functional)
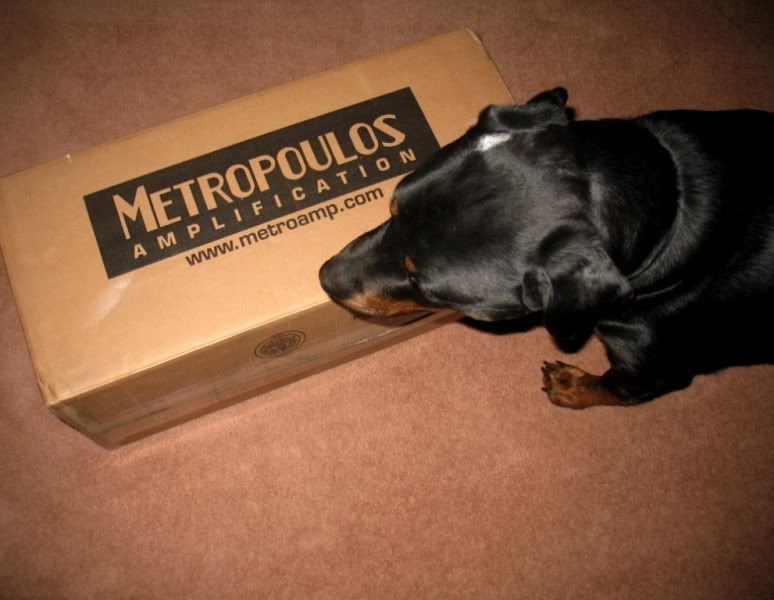
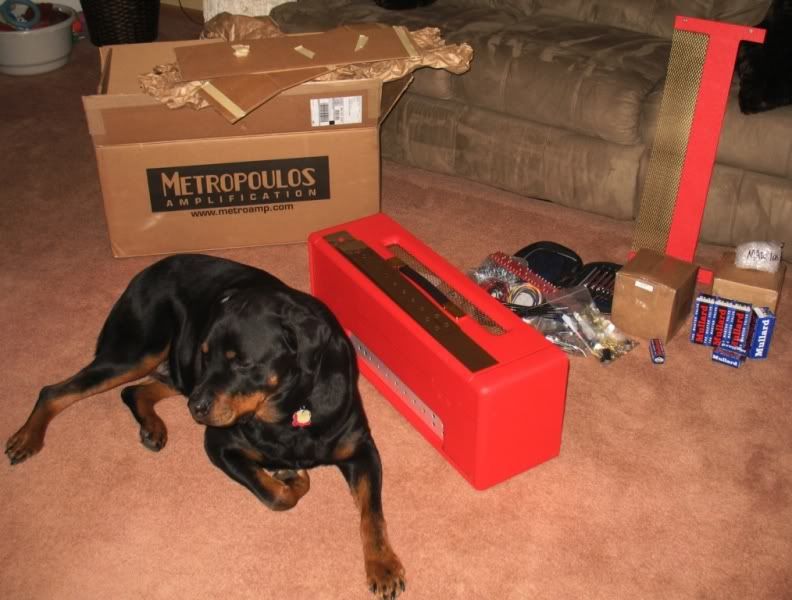
So I'll start with the brown truck dropping me off a package yesterday. The kit came extremely well packaged, and the red headcase looks even better in person (just as George said it would
UNPACKED:
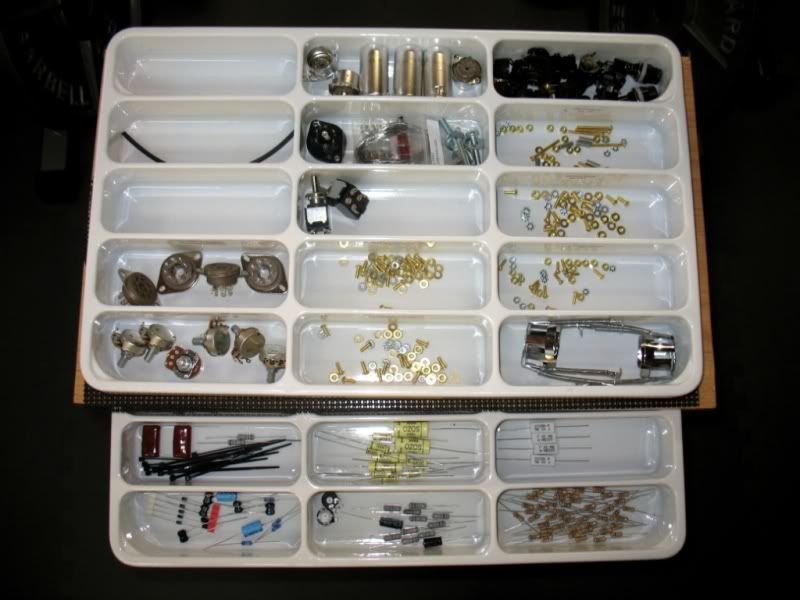
PARTS SORTED:
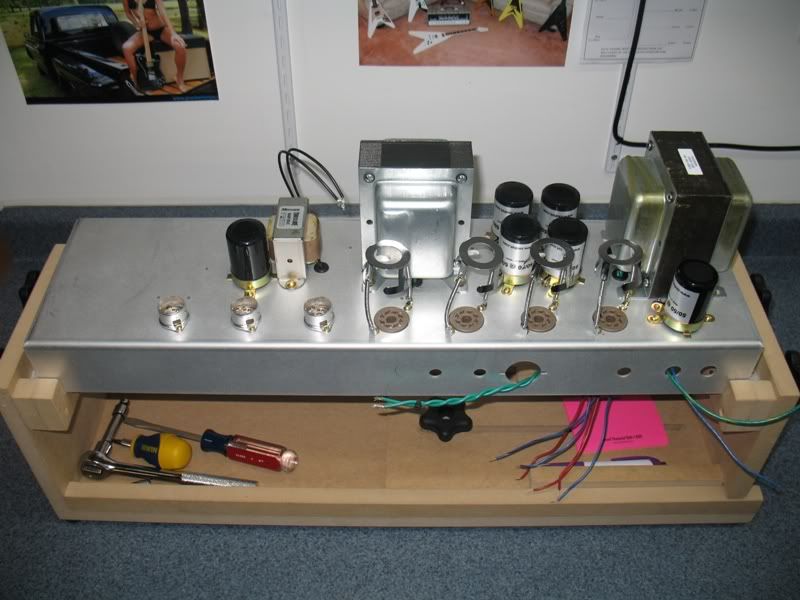
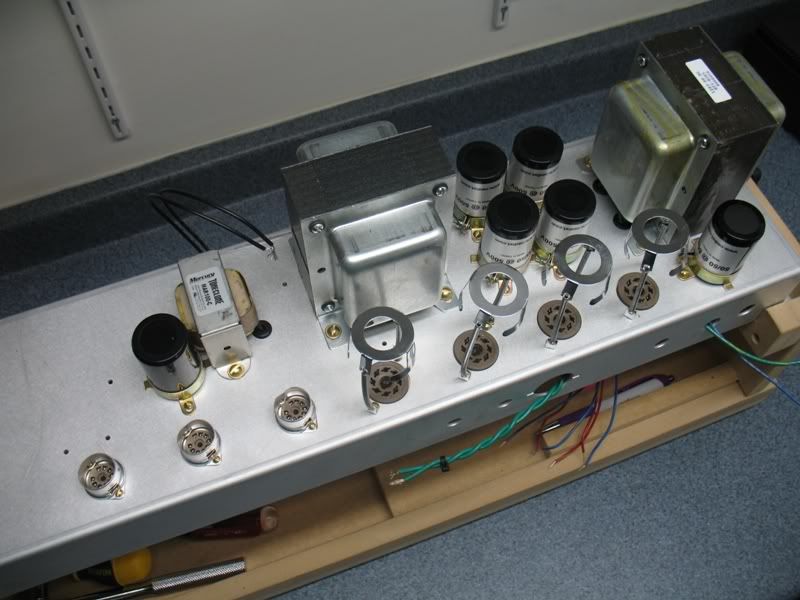
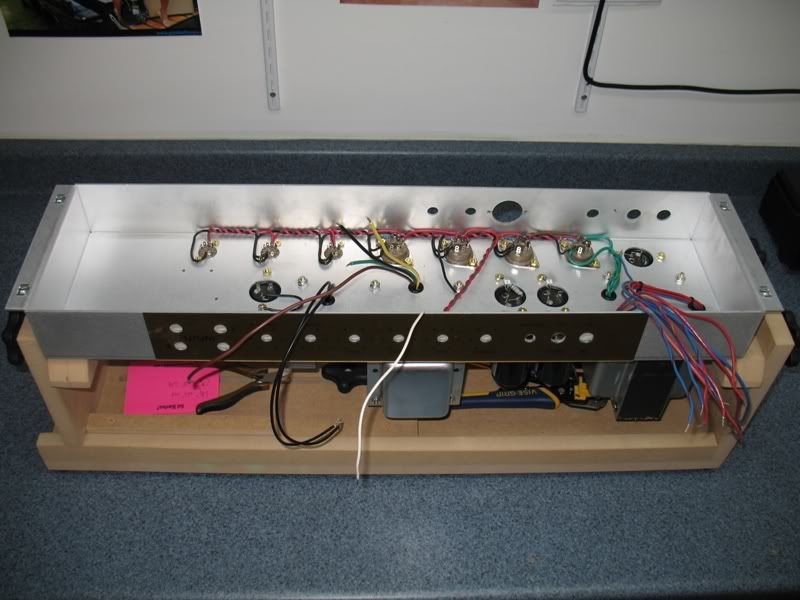
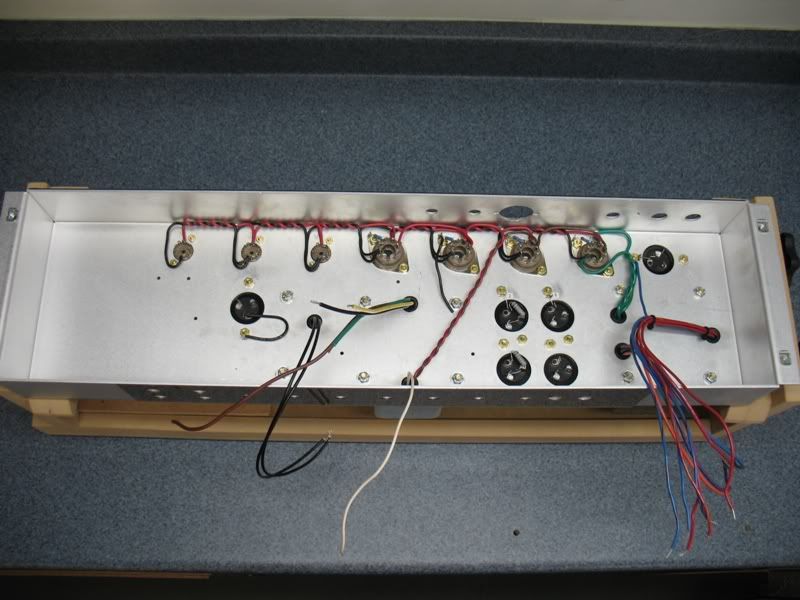
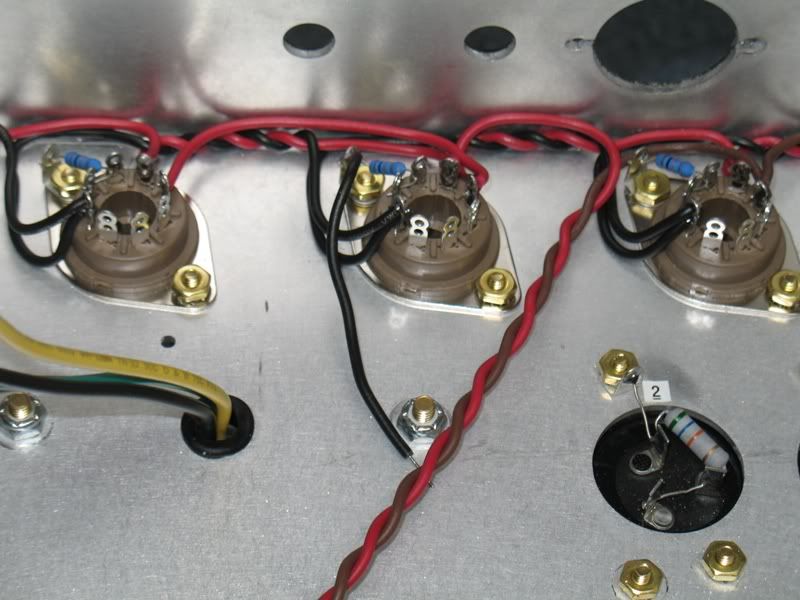
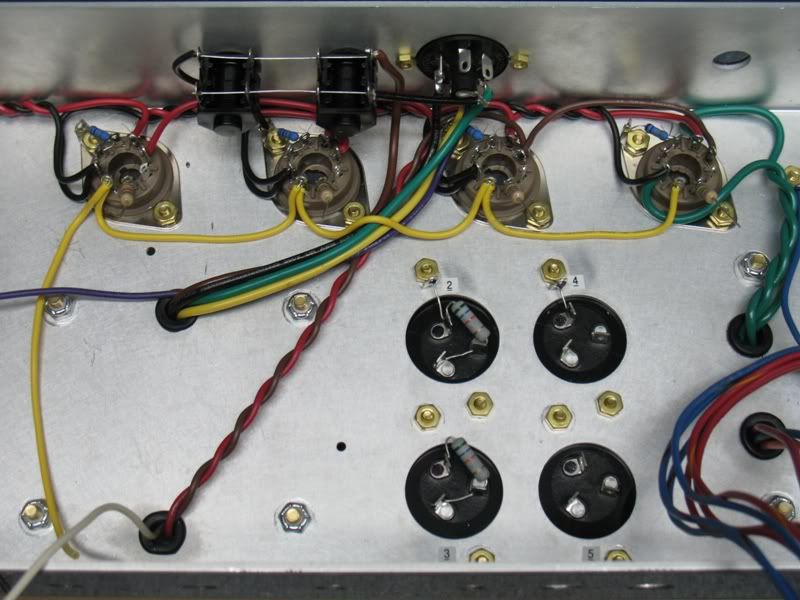
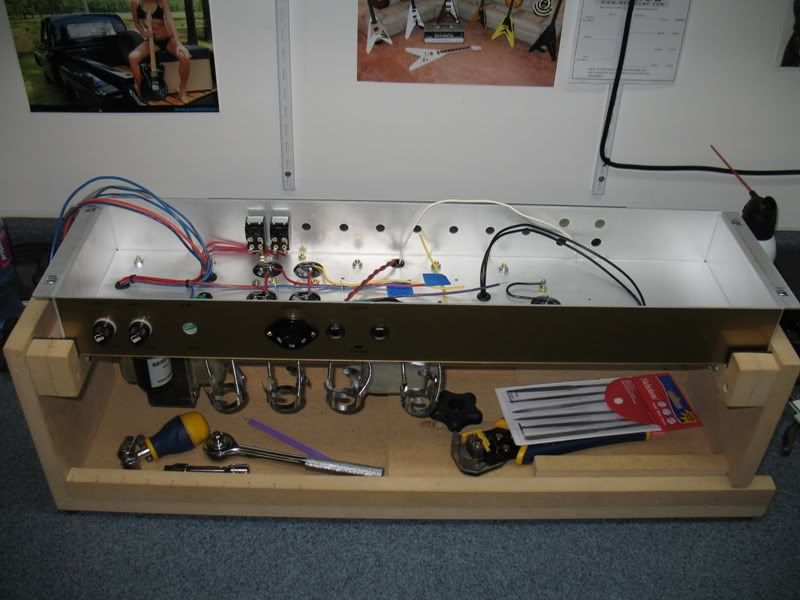
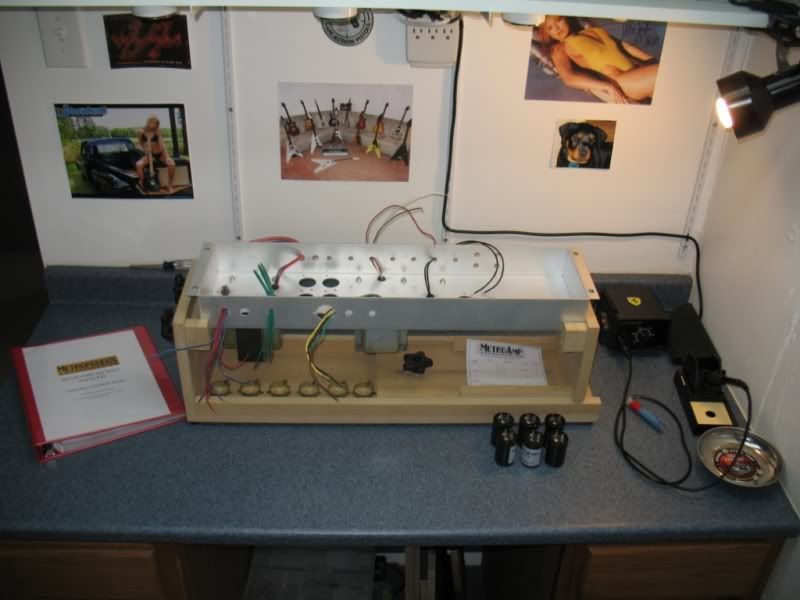
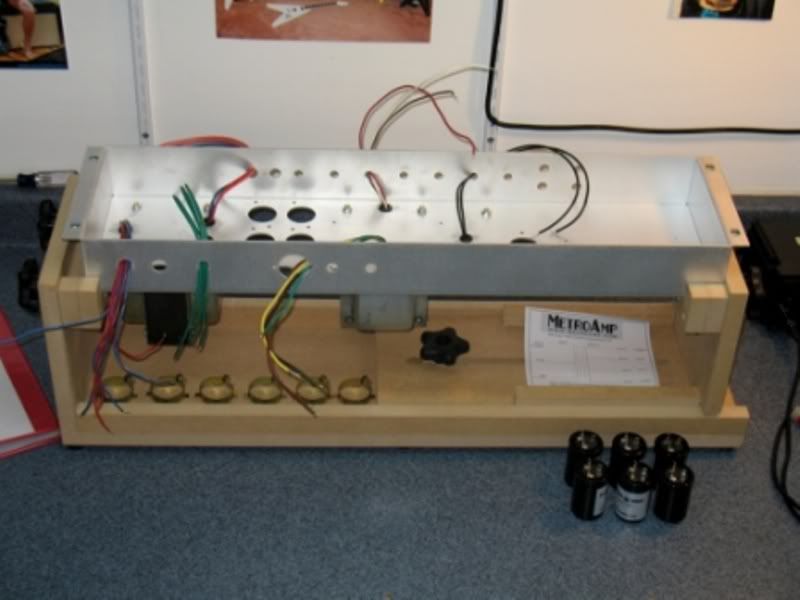
TRANSFORMERS/CHOKE BOLTED DOWN/AMP CRADLE/WORK SPACE:
That's all for now. see y'all next time. Please feel free to comment at any time. I would love to hear from the experts and the beginners alike!