Page 1 of 2
JCM900 Cabinet Restoration and Upgrade
Posted: Wed Mar 09, 2016 4:27 pm
by rgorke
I have been wanting to "restore" an old cabinet and leave it bare like a certain artist from the late 70s. I didn't want to detolex my perfectly good 1960 cabinet, just for looks. I finally came across an empty JCM900 1960A that had significant road rash. I thought I would give a picture narrative of what I am doing.
I discovered, with help from our good friend Jim at Scumback, that not all Marshall cabinets are created equal and the Marshall really starting skimping on the wood. They started using particle board back panels and also particle board and MDF for the cloth risers that sit between the baffle and the cabinet.
For this cabinet, I am removing all the tolex and glue and everything that isn't plywood is being replaced with either hardwood or plywood.
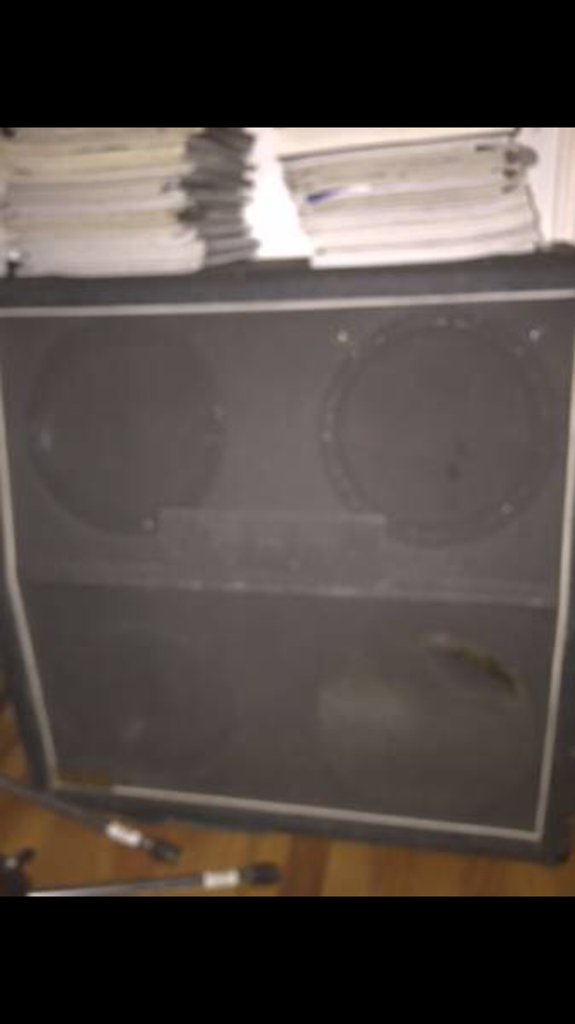
Cabinet when I got it
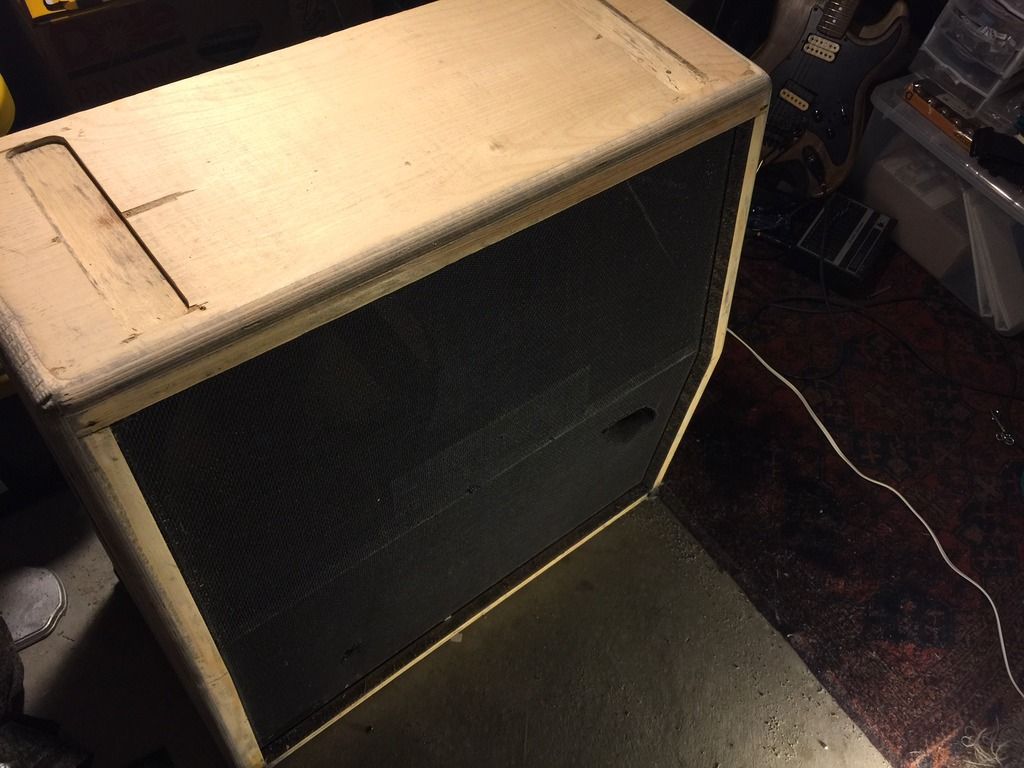
Cabinet with tolex removed and nasty glue to get off.

Here is the cabinet with most of the glue scraped and sanded off.
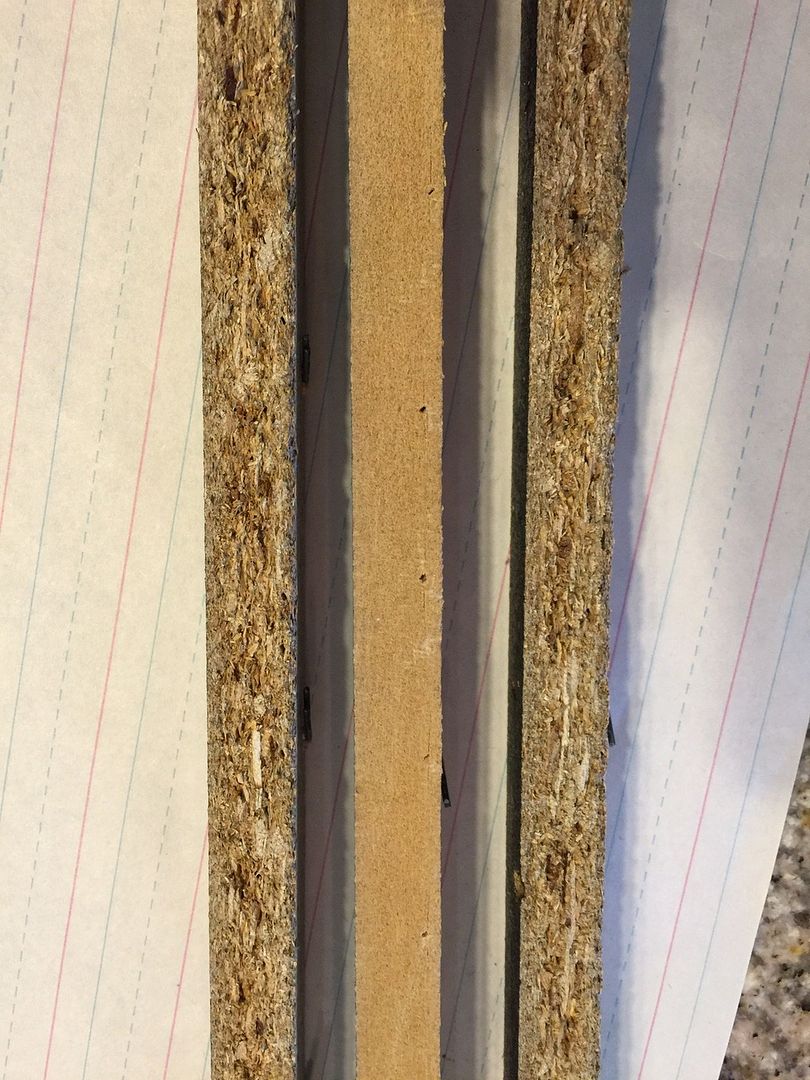
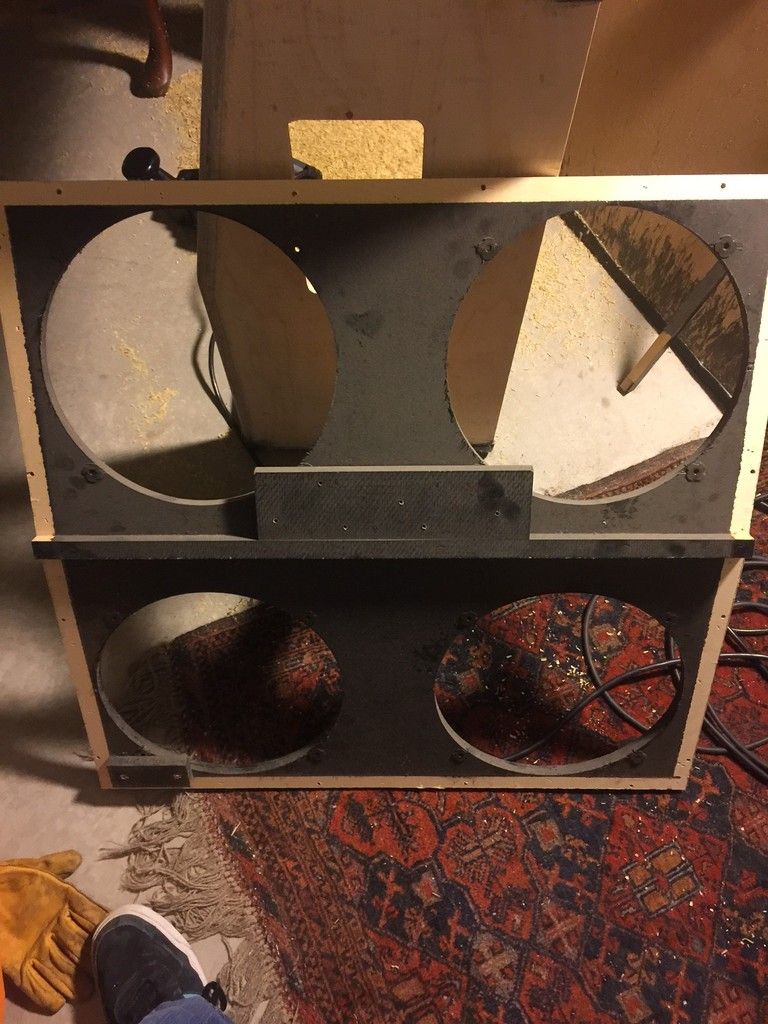
Here is a side by side of the cloth risers. The MDF was along the top and bottom of the baffle and the particle board ran along the angled sides.
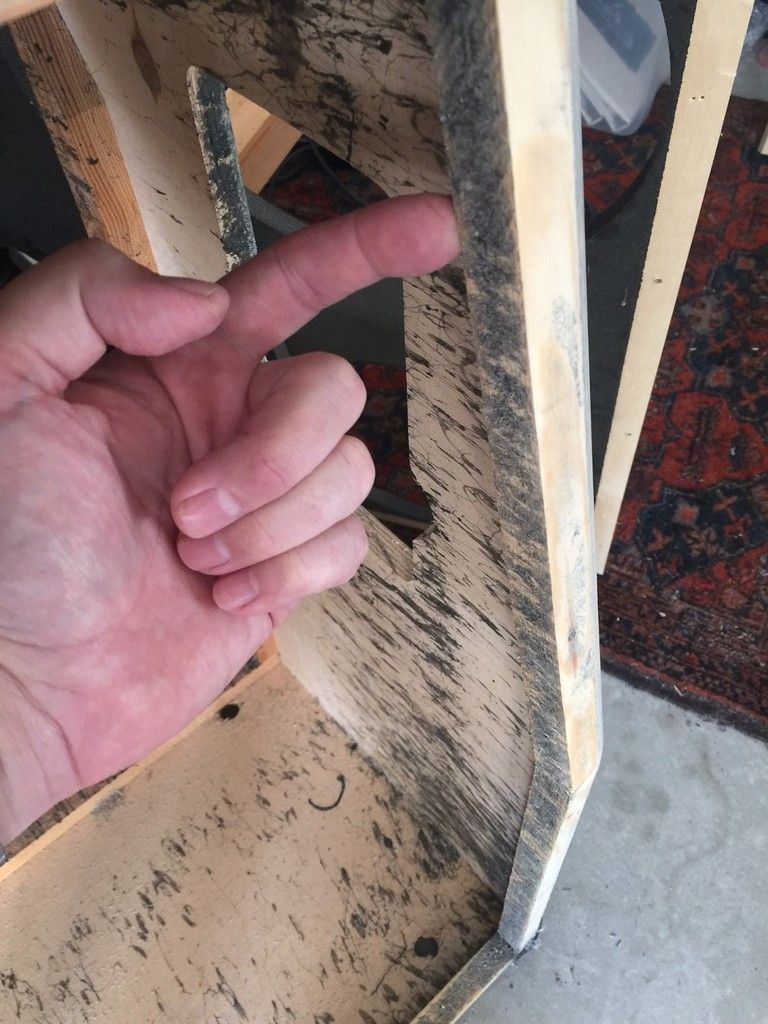
Here I am pointing to where the cloth risers contact the cabinet. Essentially, they are the connection point for the baffle.
Baffle with MDF and particle board cloth risers removed.
Re: JCM900 Cabinet Restoration and Upgrade
Posted: Thu Mar 24, 2016 5:07 pm
by neikeel
More please!
I like these project threads, particularly when they are well executed

Re: JCM900 Cabinet Restoration and Upgrade
Posted: Tue Apr 05, 2016 8:03 pm
by sixpakldp
This should be interesting. I've often thought about modding a modern can to pre '71 specs.
Re: JCM900 Cabinet Restoration and Upgrade
Posted: Wed Apr 06, 2016 6:13 pm
by rgorke
Re: JCM900 Cabinet Restoration and Upgrade
Posted: Sat Apr 09, 2016 3:35 pm
by rgorke
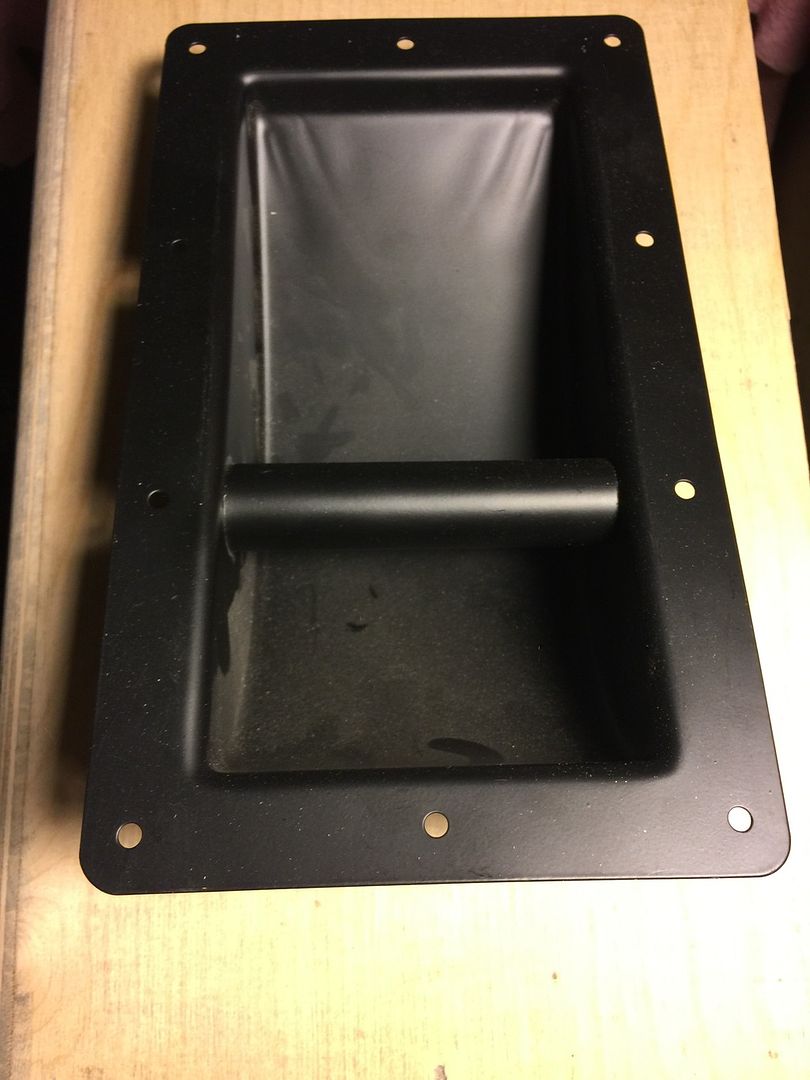
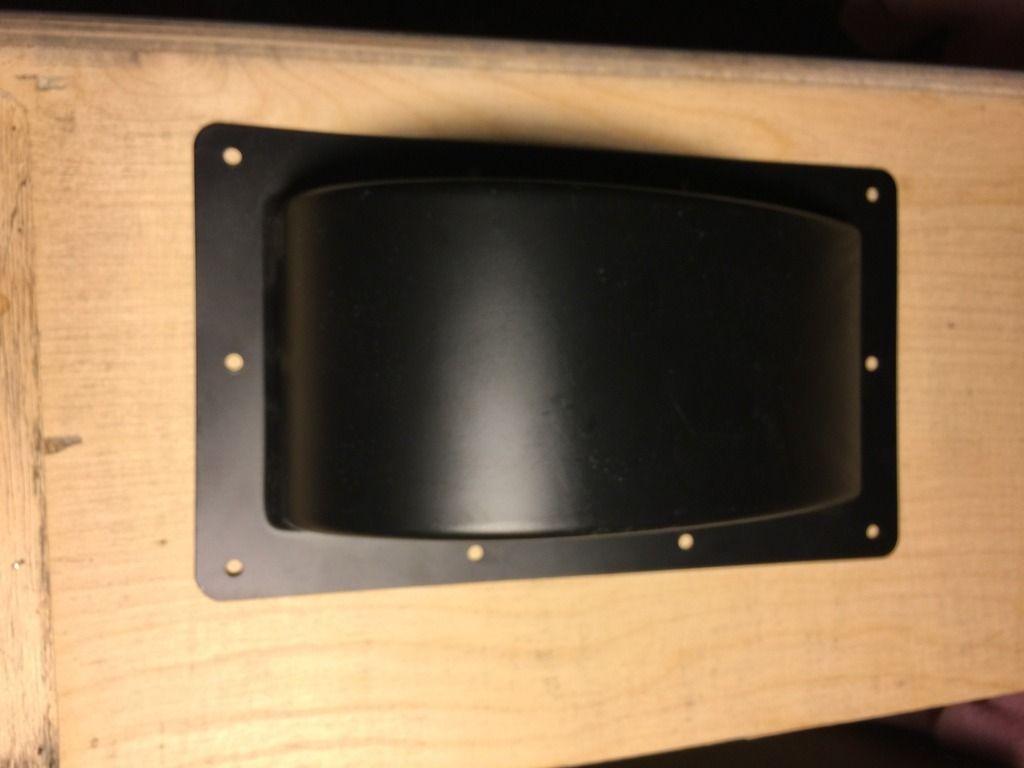
I have a set of metal handles but they don't quite fit right. The hump is a bit too large to fit in the existing hole. Also, the handles I have have 10 holes rather than 6 holes. Which isn't too big of an issue other than two of the holes are right where the cut out is in the cabinet. Since these handles don't have little bumps on the sides, there is not need to have the cut out...make sense???? See photos below.
So, there are a couple of options:
1) Just spend an extra $50 or so to get the true vintage repro handles.
2) use these handles and just not use two screws....
3) use the existing handles and fill in the wood where the cut outs are so there is something for the screws to screw into (or more accurately, something for the T nuts to attach to.
Also, I'm probably going to use salt and pepper grill cloth. However, it appears tubes and more is out of stock. Anyone have experience with other vendors?
i
Re: JCM900 Cabinet Restoration and Upgrade
Posted: Sun Apr 10, 2016 12:15 pm
by Scumback Speakers
Roger, I've got some S&P cloth here. Leftovers from the last cab maker who didn't work out, as well as handles, and probably piping, etc...too. Get a list together of what you need and bring it over. My demo room isn't getting deconstructed until the rain goes away, and if you can make it over Monday after work, we should be able to find it pretty easily.
Re: JCM900 Cabinet Restoration and Upgrade
Posted: Sun Apr 10, 2016 1:55 pm
by neikeel
I've got a set of Scumback metal handles in a late 70s cab and they fit very well and look the part, neater than the Marshall HW ones and the ones in your pics.
I think S & P is the classic cloth and it is pretty robust. Pinstripe is nice but I am always worried about ripping it.
Re: JCM900 Cabinet Restoration and Upgrade
Posted: Tue Apr 12, 2016 12:11 pm
by rgorke
I went shopping yesterday at the Scumback Speaker Emporium. What a fun place to visit and drool over amps, cabs, cats, dogs, all sorts of funs stuff. I also got the secret recipe for the speakers...just PM me...lol, yeah, you all wish!!!!
I even had some great Mexican food but I had to withstand on and on droning about weather in Washington, DC, kids, water quality, drought...oh wait that was me talking...never mind.
On to the good stuff...
Gots my speakers (M75-PVC 65 watt), I nearly wet myself when I heard these a few years ago at the Scumback corporate HQ), metal handles (got the message loud and clear that my current handles were not acceptable), grill cloth, piping, a back panel, and all sorts of screws, T nuts and whatnots.
I'll send some photos of the progress....
Re: JCM900 Cabinet Restoration and Upgrade
Posted: Sat Oct 22, 2016 8:18 pm
by sixpakldp
I'm in the midst of a similar effort with a JCM 900 cab, replacing anything that's not plywood with plywood. Does anyone happen to know the dimensions for the vertical baffle brace and cuts for the center post? I'd like to make one up.
Re: JCM900 Cabinet Restoration and Upgrade
Posted: Sun Oct 23, 2016 10:06 am
by chrisom
Does anyone happen to know the dimensions for the vertical baffle brace and cuts for the center post? I'd like to make one up.
Somebody posted it here on Metroamps years ago. If anyone knows where it is, please link to it, I'd like to revisit it as well...

Re: JCM900 Cabinet Restoration and Upgrade
Posted: Sun Oct 23, 2016 10:12 am
by chrisom
I just picked up an empty Laney GS412IA 4x12 Cab on Kansas City Craigslist for $50, and was surprised to see it had plywood construction and the old-Marshall-style of bracing with the full 2x4" beam. The back panel was MDF and so was the vertical triangular piece that attaches to the beam, but I can easily replace that. Even has the rectangular metal handles, not the weird-shaped ones Laney uses now...
What about the black rubber material that goes between the beam end and the back panel? anyone know where to get that? I saw it used on George's True Replica cab photos...
Re: JCM900 Cabinet Restoration and Upgrade
Posted: Sun Oct 23, 2016 10:23 am
by chrisom
The Laney is a 'UK-made by BLT Industries' model, not the Chinese ones out today, and has Hiwatt-style tolex, white piping and a decent set of metal casters. I bought a used factory old-style rectangular Laney logo plate (without the 'long Y') from eBay UK to put on it. After I do the same bracing upgrade rgorke and sixpakldp described I'll have to decide what to load it with...
Re: JCM900 Cabinet Restoration and Upgrade
Posted: Sun Oct 23, 2016 5:29 pm
by sixpakldp
Here are some of the dimensions at least for the wood:
viewtopic.php?f=3&t=35438&hilit=baffle+bracing
Looks like there is another post that may blue print the cabs, I'll see if I can find it.
Re: JCM900 Cabinet Restoration and Upgrade
Posted: Mon Oct 24, 2016 1:18 am
by rgorke
Let me look around, I have that diagram you are taking about. I just cut my bracing to match what was there.
Re: JCM900 Cabinet Restoration and Upgrade
Posted: Mon Oct 24, 2016 6:00 pm
by sixpakldp
Awesome! Thanks!


