 ][/url]
2203 build, attempting image links
Moderator: VelvetGeorge
-
revolver1
- Senior Member
- Posts: 511
- Joined: Thu Jul 28, 2011 1:37 am
- Just the numbers in order: 7
2203 build, attempting image links
Last edited by revolver1 on Thu Oct 05, 2017 3:41 pm, edited 1 time in total.
-
revolver1
- Senior Member
- Posts: 511
- Joined: Thu Jul 28, 2011 1:37 am
- Just the numbers in order: 7
Re: 2203 build, attempting image links
[url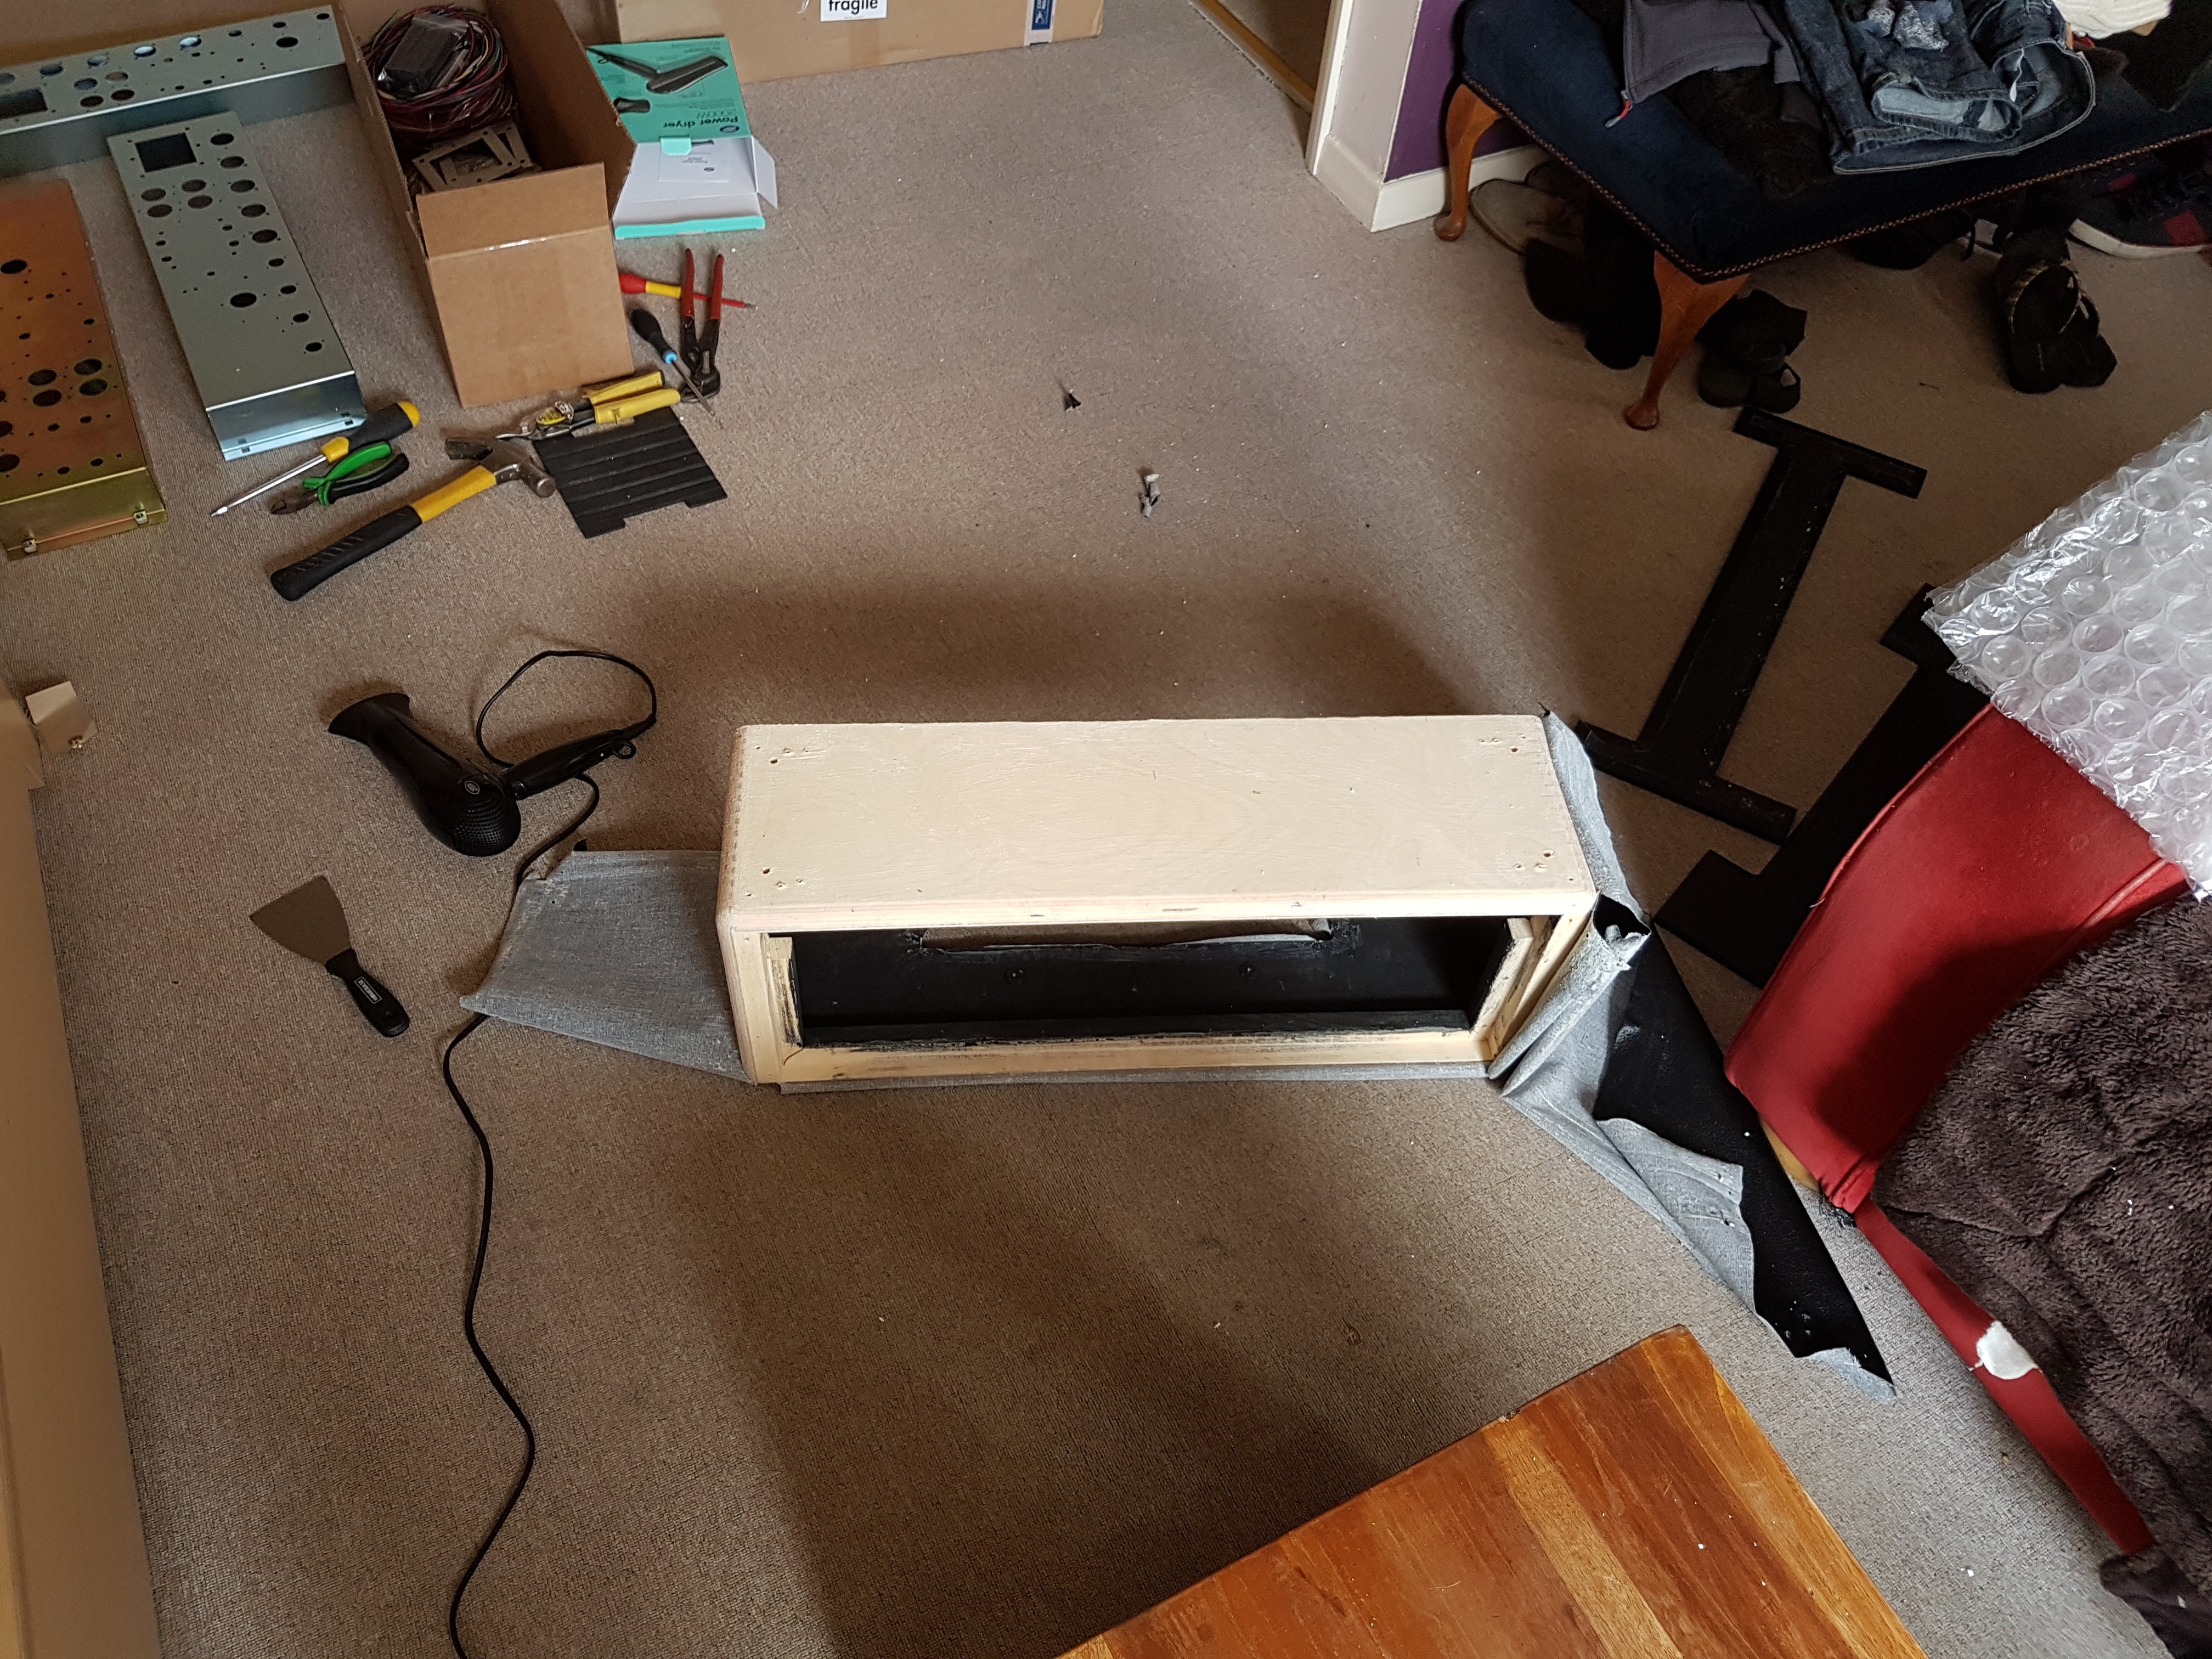 ][/url]
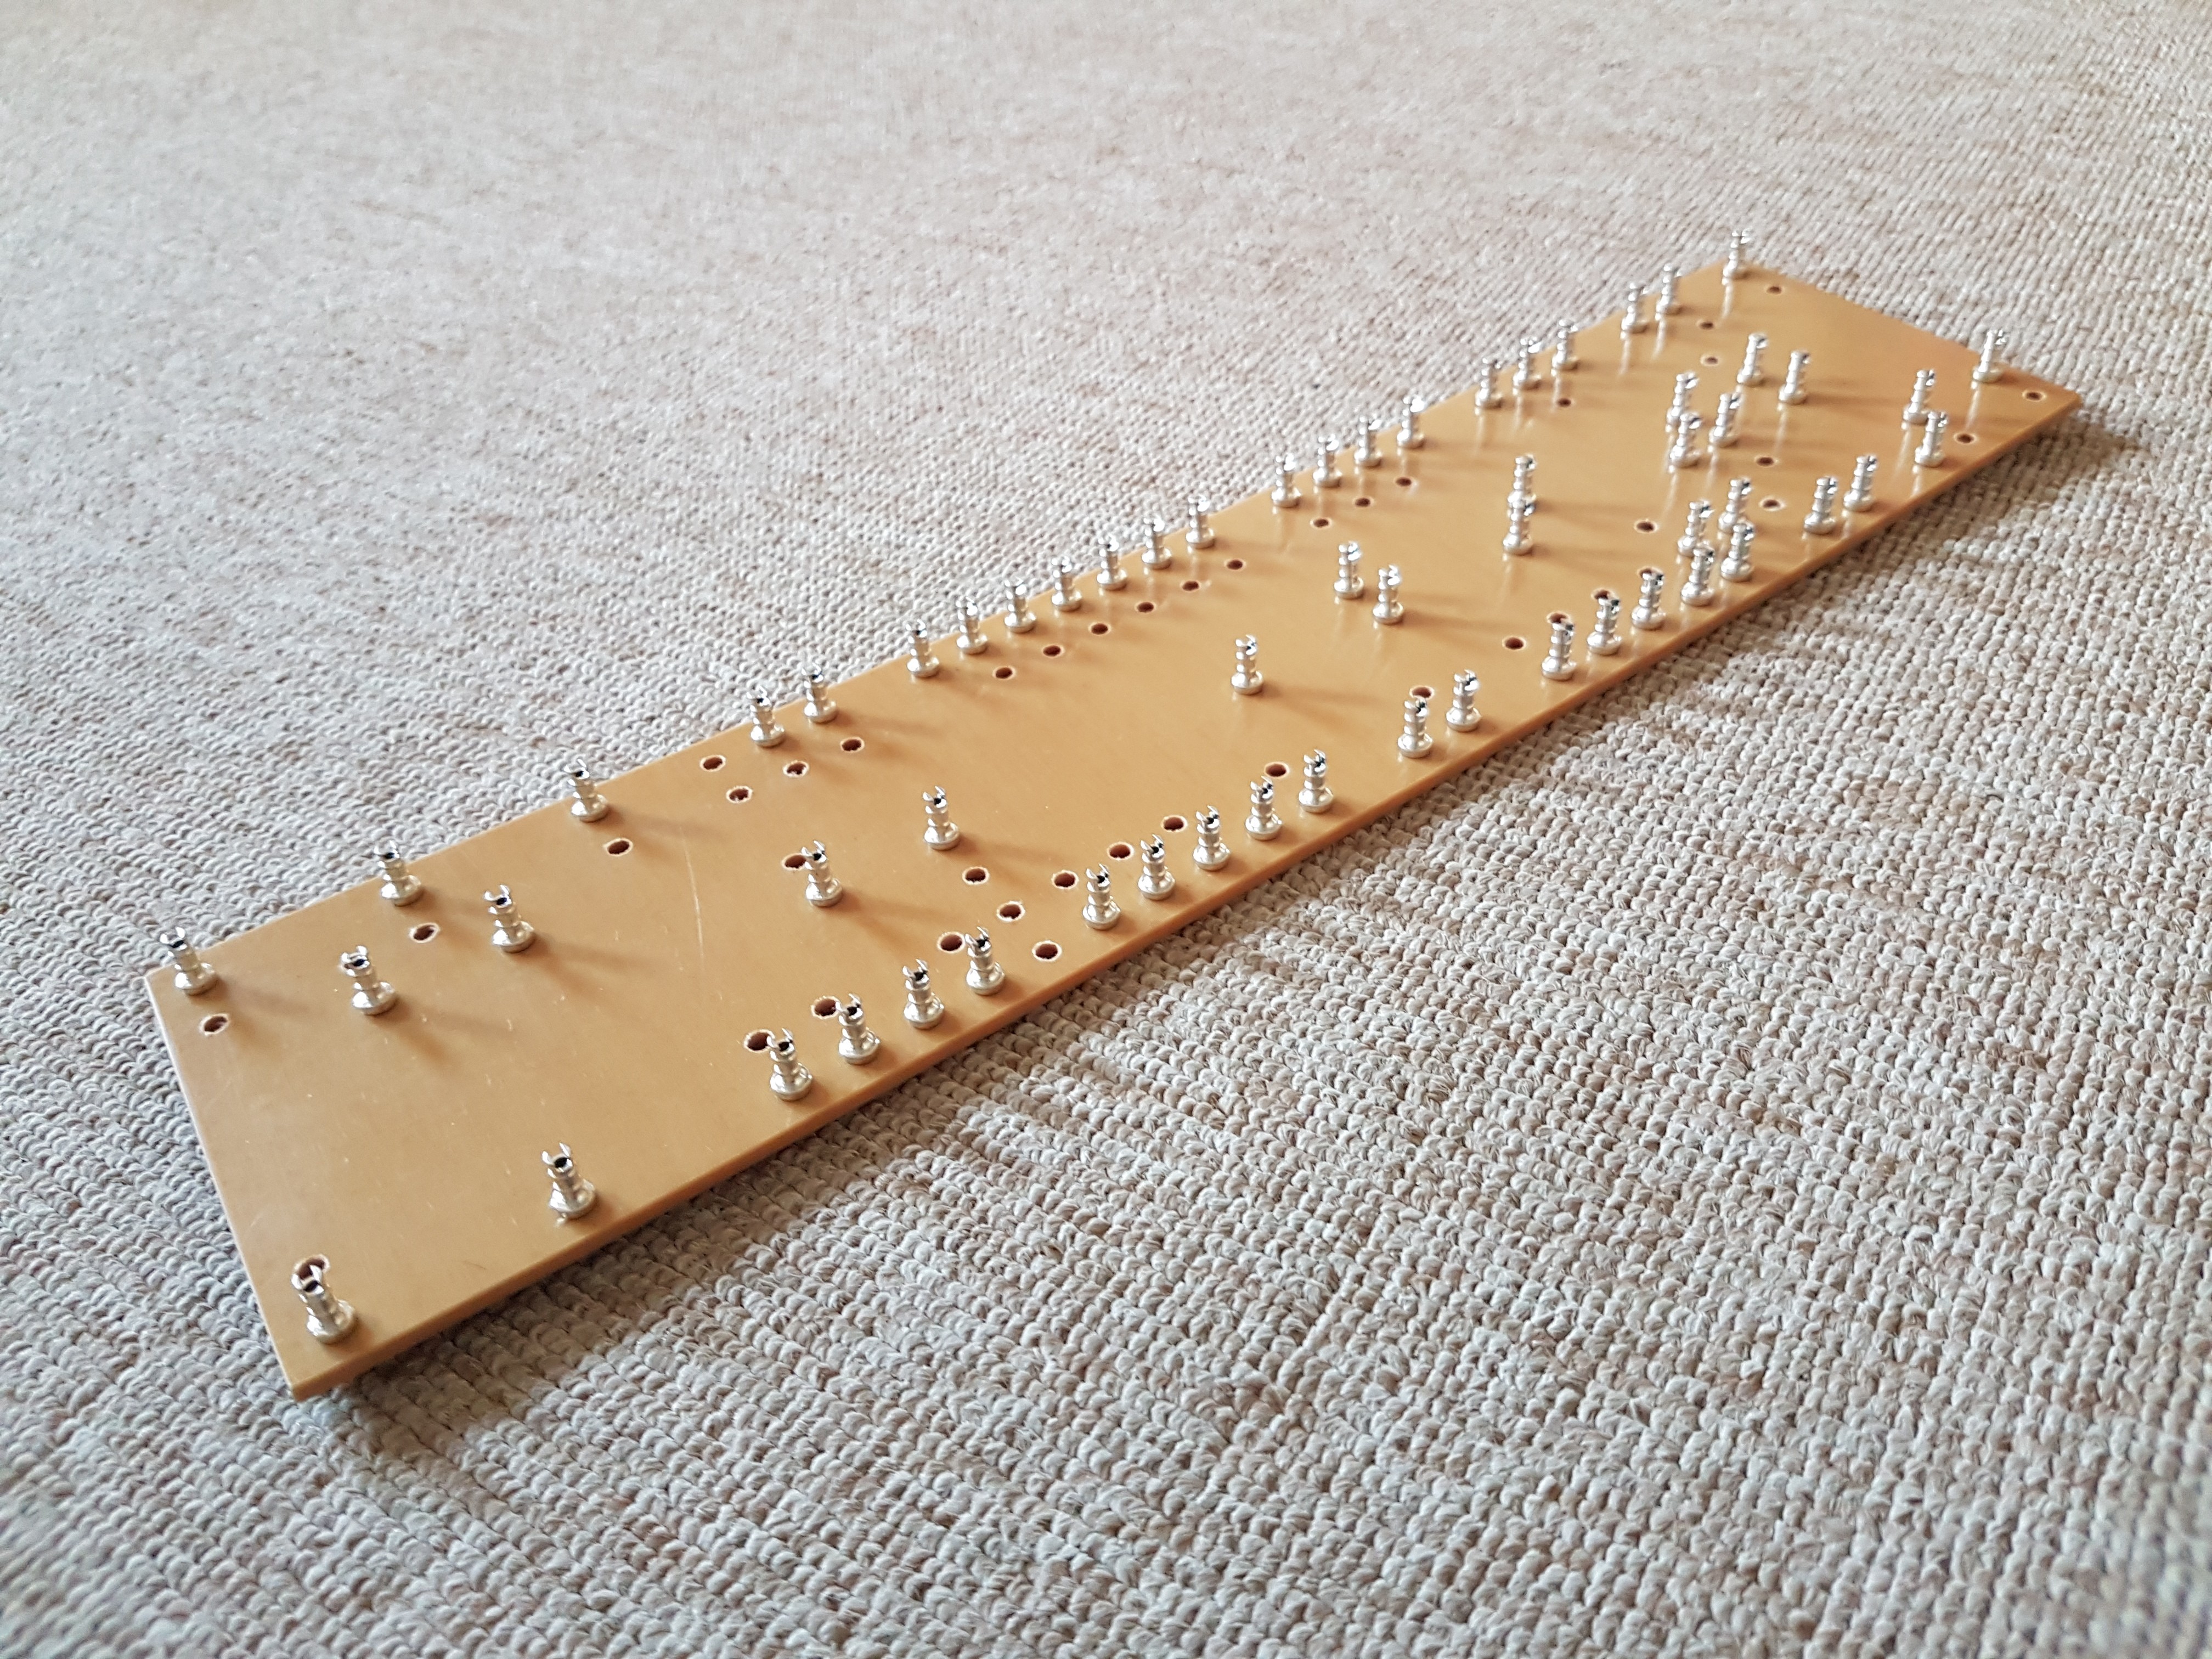
So this was the starting point. I wanted to make my own turret boards this time. For this build I got hold of some Carp grade Tuffnol.
It's a bit of a lucky dip with the colour but between my many attempts I've landed with colours that i think quite suit the builds i have planned.
This being a 2203 I liked the light colour of this that reminds me of some of those early 70's boards.
So i marked it out on the sheet, a piece with the least amount of scratches on it. Cut it out, filed and sanded the edges and then set about setting out the turrets.
I went with Key Stone turrets from Digikey which I think are the same as many are using around here. I used a template from Watts Tube Audio to drill the holes which was really handy.
I just marked the hole to be drilled with a felt tip pen, afterwards I just scrubbed the marker off the template.
The only annoying bit was the template could do with being a little longer because I had to move it along to get the last part of the board. This meant paying close attention to the alignment of the holes which could easily be fluffed. I used packing tape to hold it in place.
From the picture I have actually changed a couple of turrets since down at the bias capacitors. I was trying to figure a way of being able to adjust the trimmer from outside the chassis without having your hand draped all over the filter caps.
I didn't really like the look of routing the resistor up between the bias caps so I figured another way. Having looked at it again I've thought of a better way that would look better so I moved the turrets down in line to the edge of the board.
All will become clear when we get to populating the board. It will leave a couple of unused holes in the board which did bug me at first. But I've seen plenty of Marshall boards with spare holes so I'm telling myself it makes it more authentic.... Maybe I could go with "it provides ventilation to keep the bias caps cool"
Anyway so that's the board done, I drilled the mounting holes when I got the chassis so it all fits. All in all I'm pretty happy with it.
 ][/url]
So this was the starting point. I wanted to make my own turret boards this time. For this build I got hold of some Carp grade Tuffnol.
It's a bit of a lucky dip with the colour but between my many attempts I've landed with colours that i think quite suit the builds i have planned.
This being a 2203 I liked the light colour of this that reminds me of some of those early 70's boards.
So i marked it out on the sheet, a piece with the least amount of scratches on it. Cut it out, filed and sanded the edges and then set about setting out the turrets.
I went with Key Stone turrets from Digikey which I think are the same as many are using around here. I used a template from Watts Tube Audio to drill the holes which was really handy.
I just marked the hole to be drilled with a felt tip pen, afterwards I just scrubbed the marker off the template.
The only annoying bit was the template could do with being a little longer because I had to move it along to get the last part of the board. This meant paying close attention to the alignment of the holes which could easily be fluffed. I used packing tape to hold it in place.
From the picture I have actually changed a couple of turrets since down at the bias capacitors. I was trying to figure a way of being able to adjust the trimmer from outside the chassis without having your hand draped all over the filter caps.
I didn't really like the look of routing the resistor up between the bias caps so I figured another way. Having looked at it again I've thought of a better way that would look better so I moved the turrets down in line to the edge of the board.
All will become clear when we get to populating the board. It will leave a couple of unused holes in the board which did bug me at first. But I've seen plenty of Marshall boards with spare holes so I'm telling myself it makes it more authentic.... Maybe I could go with "it provides ventilation to keep the bias caps cool"
Anyway so that's the board done, I drilled the mounting holes when I got the chassis so it all fits. All in all I'm pretty happy with it.
Last edited by revolver1 on Fri Oct 06, 2017 2:36 am, edited 2 times in total.
-
revolver1
- Senior Member
- Posts: 511
- Joined: Thu Jul 28, 2011 1:37 am
- Just the numbers in order: 7
-
revolver1
- Senior Member
- Posts: 511
- Joined: Thu Jul 28, 2011 1:37 am
- Just the numbers in order: 7
-
revolver1
- Senior Member
- Posts: 511
- Joined: Thu Jul 28, 2011 1:37 am
- Just the numbers in order: 7
Re: 2203 build, attempting image links
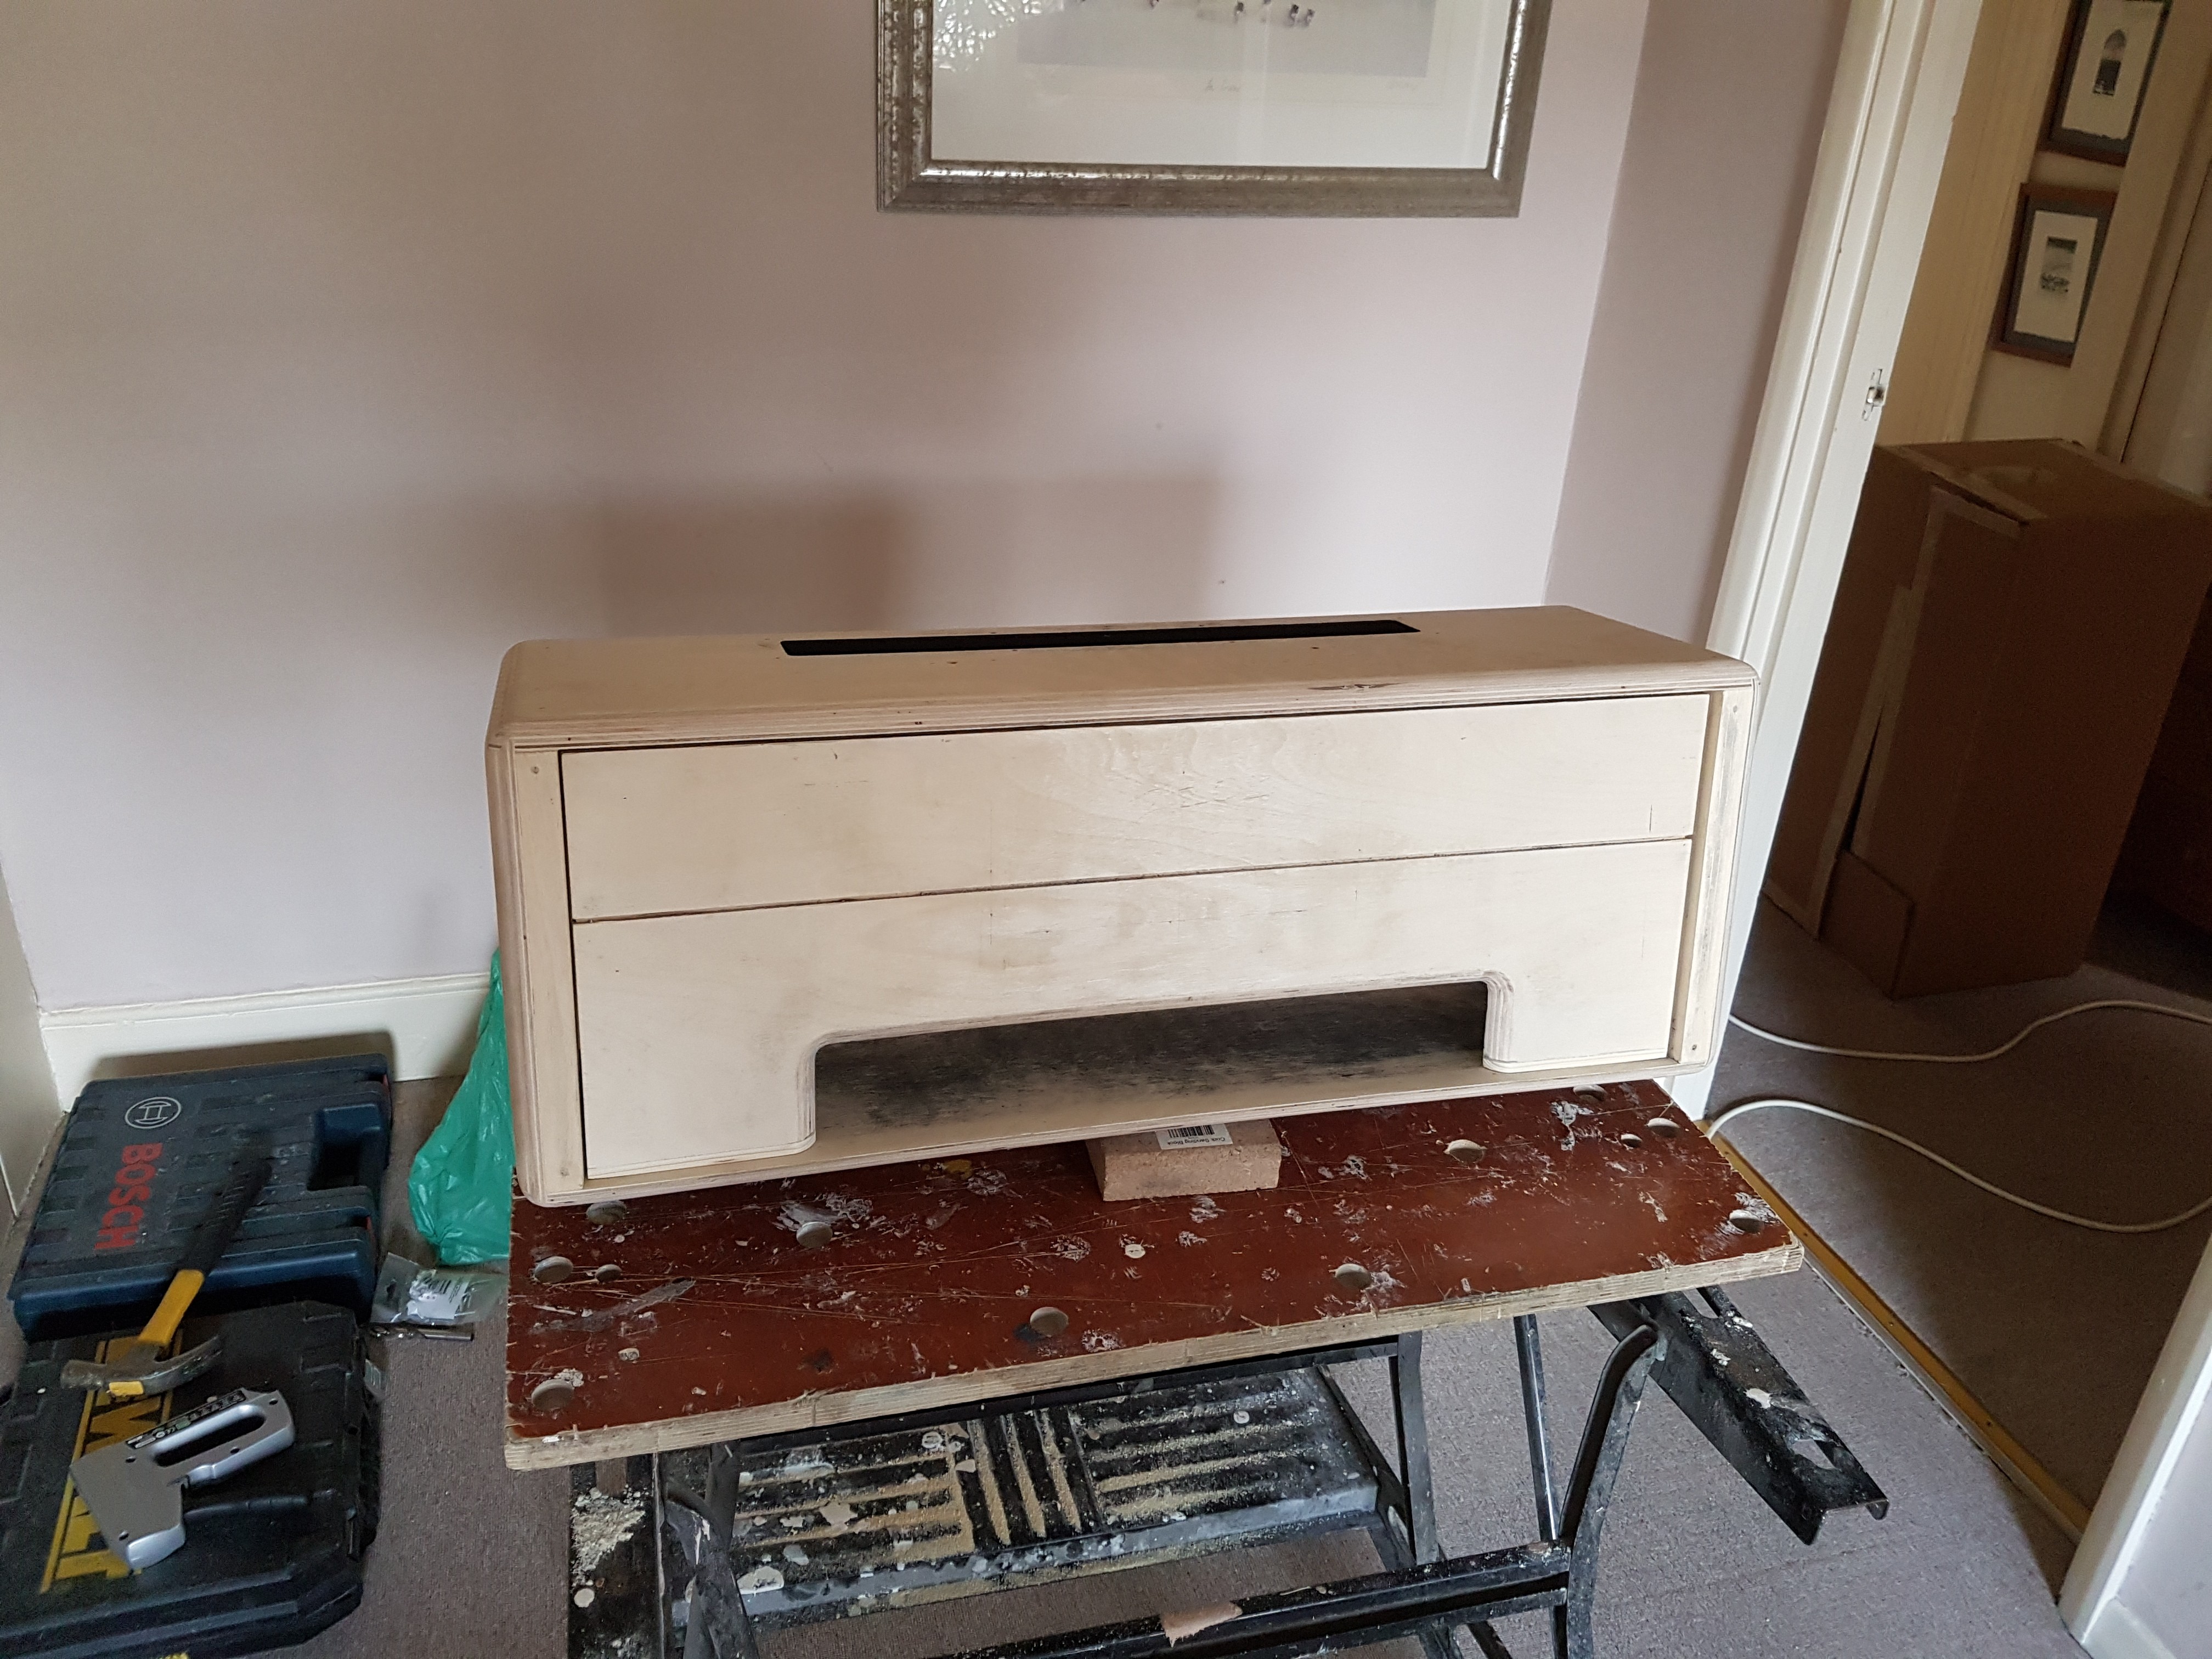
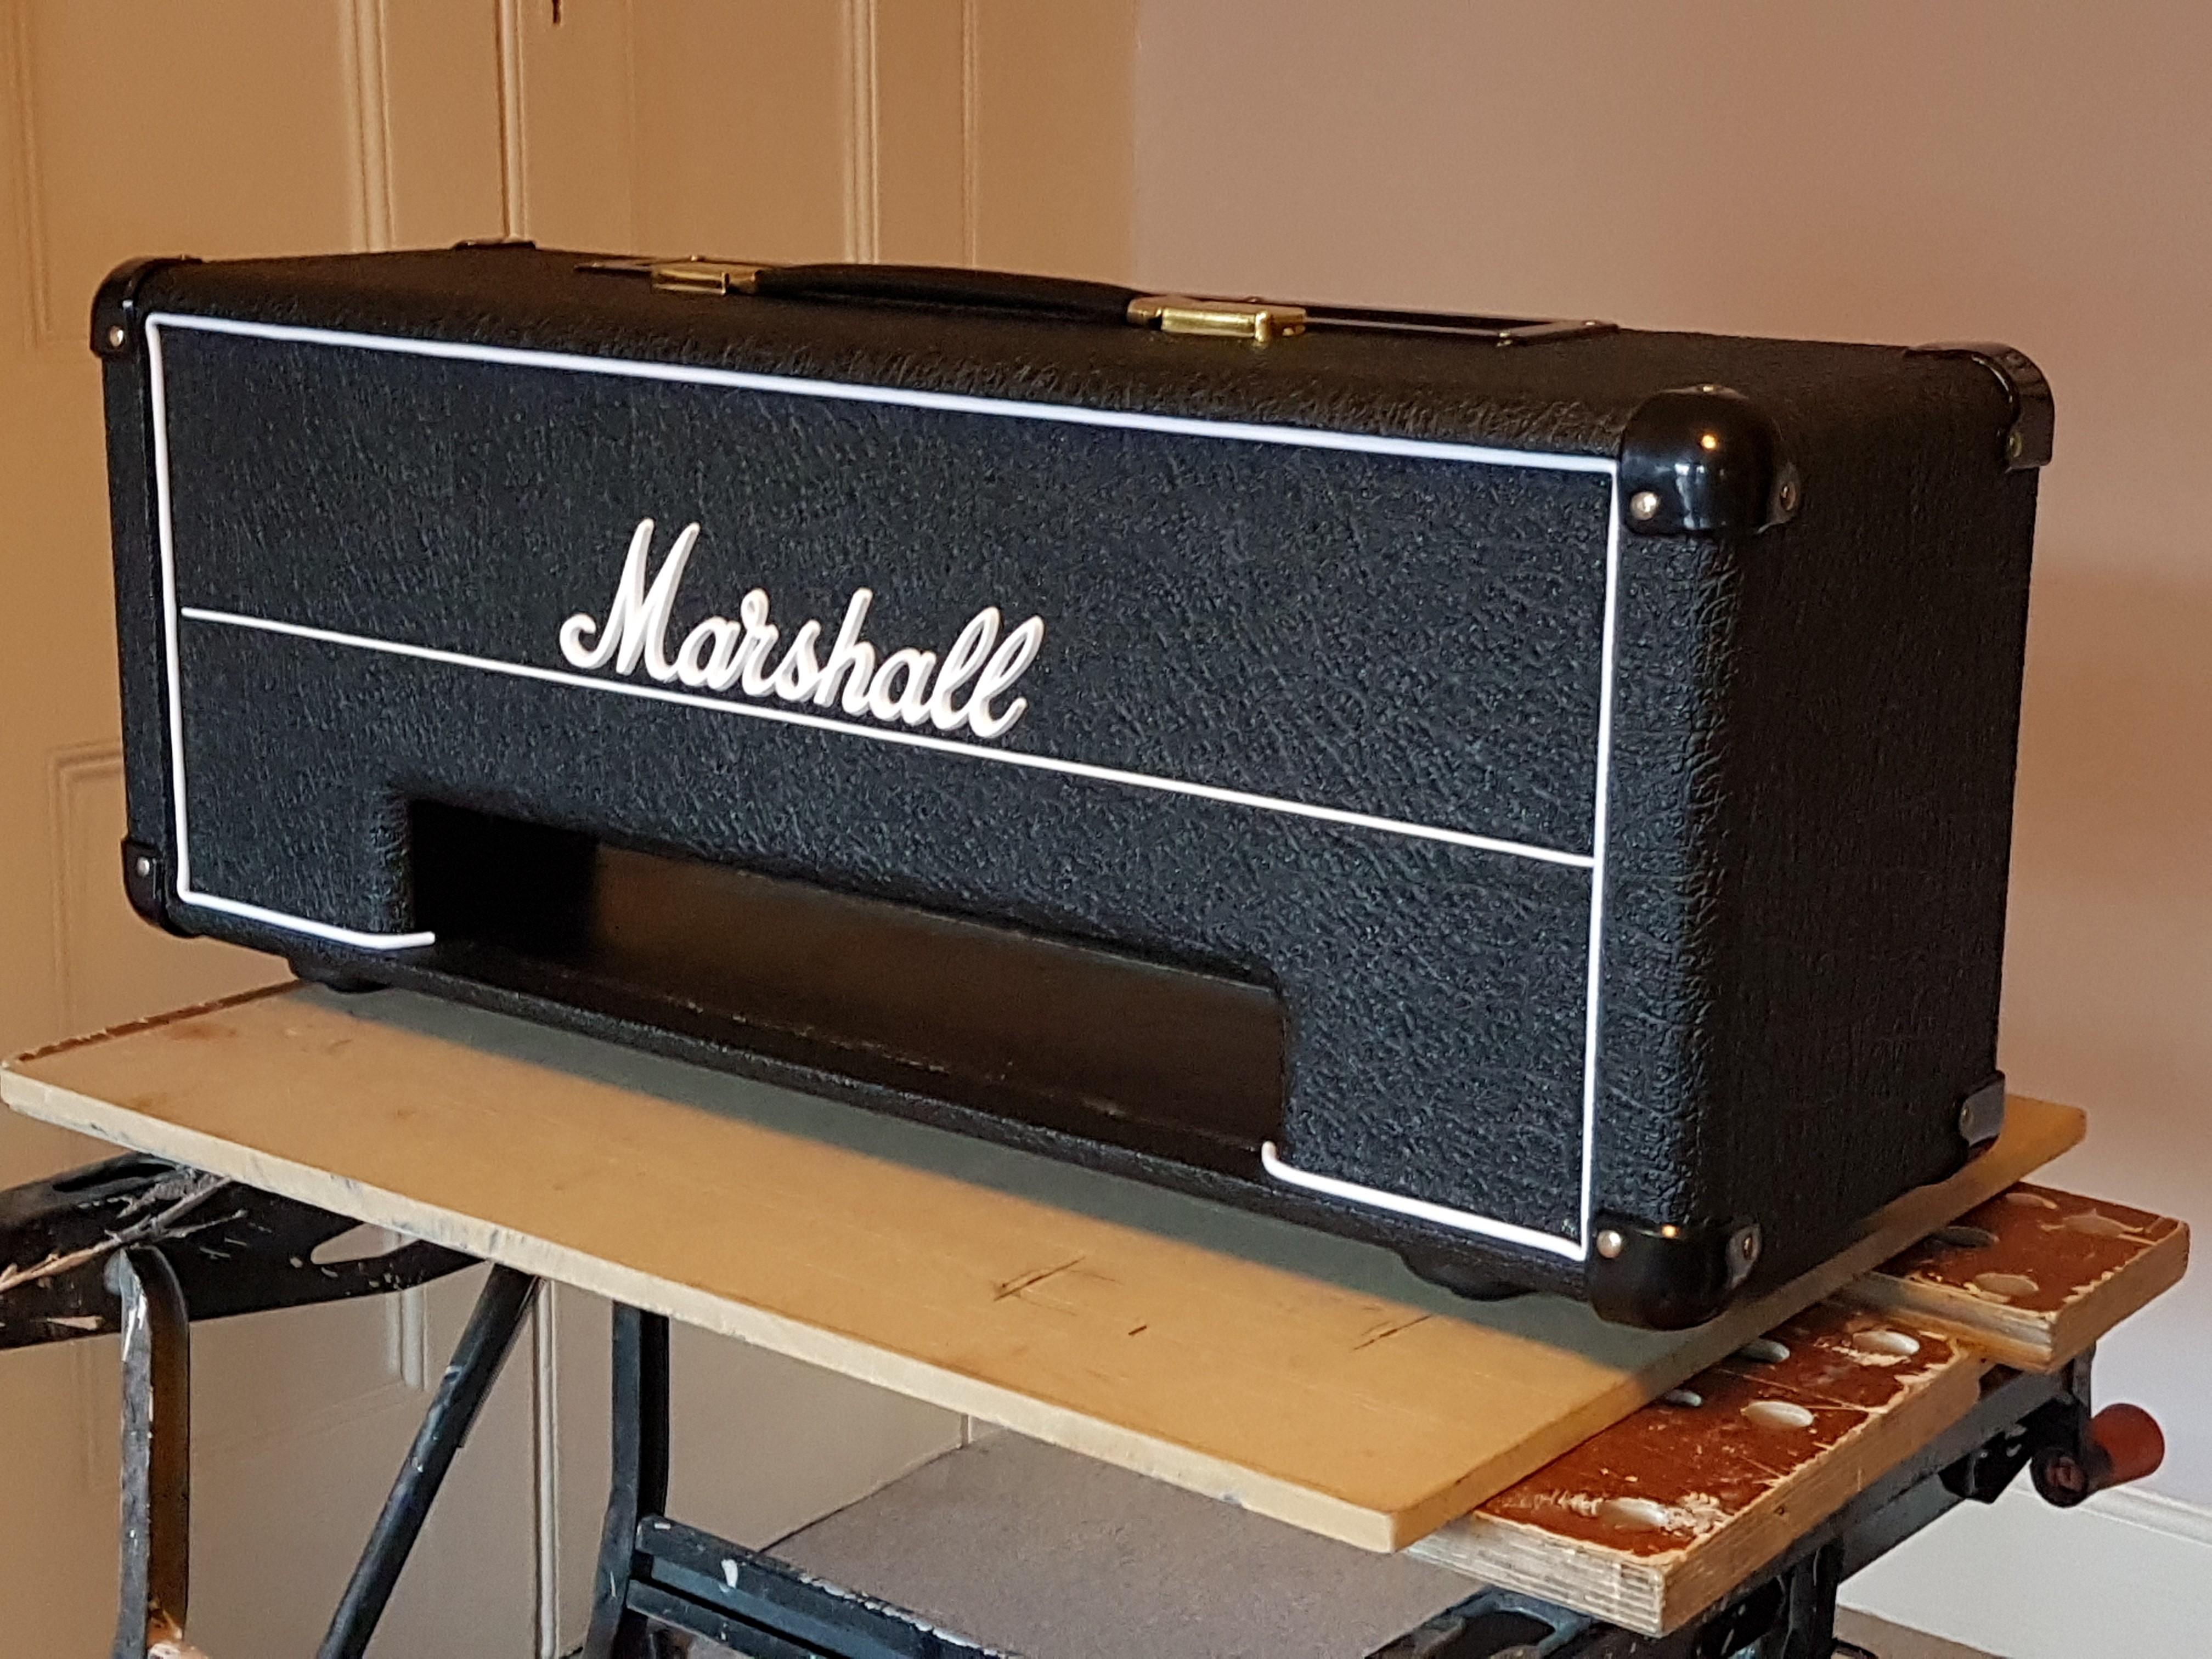
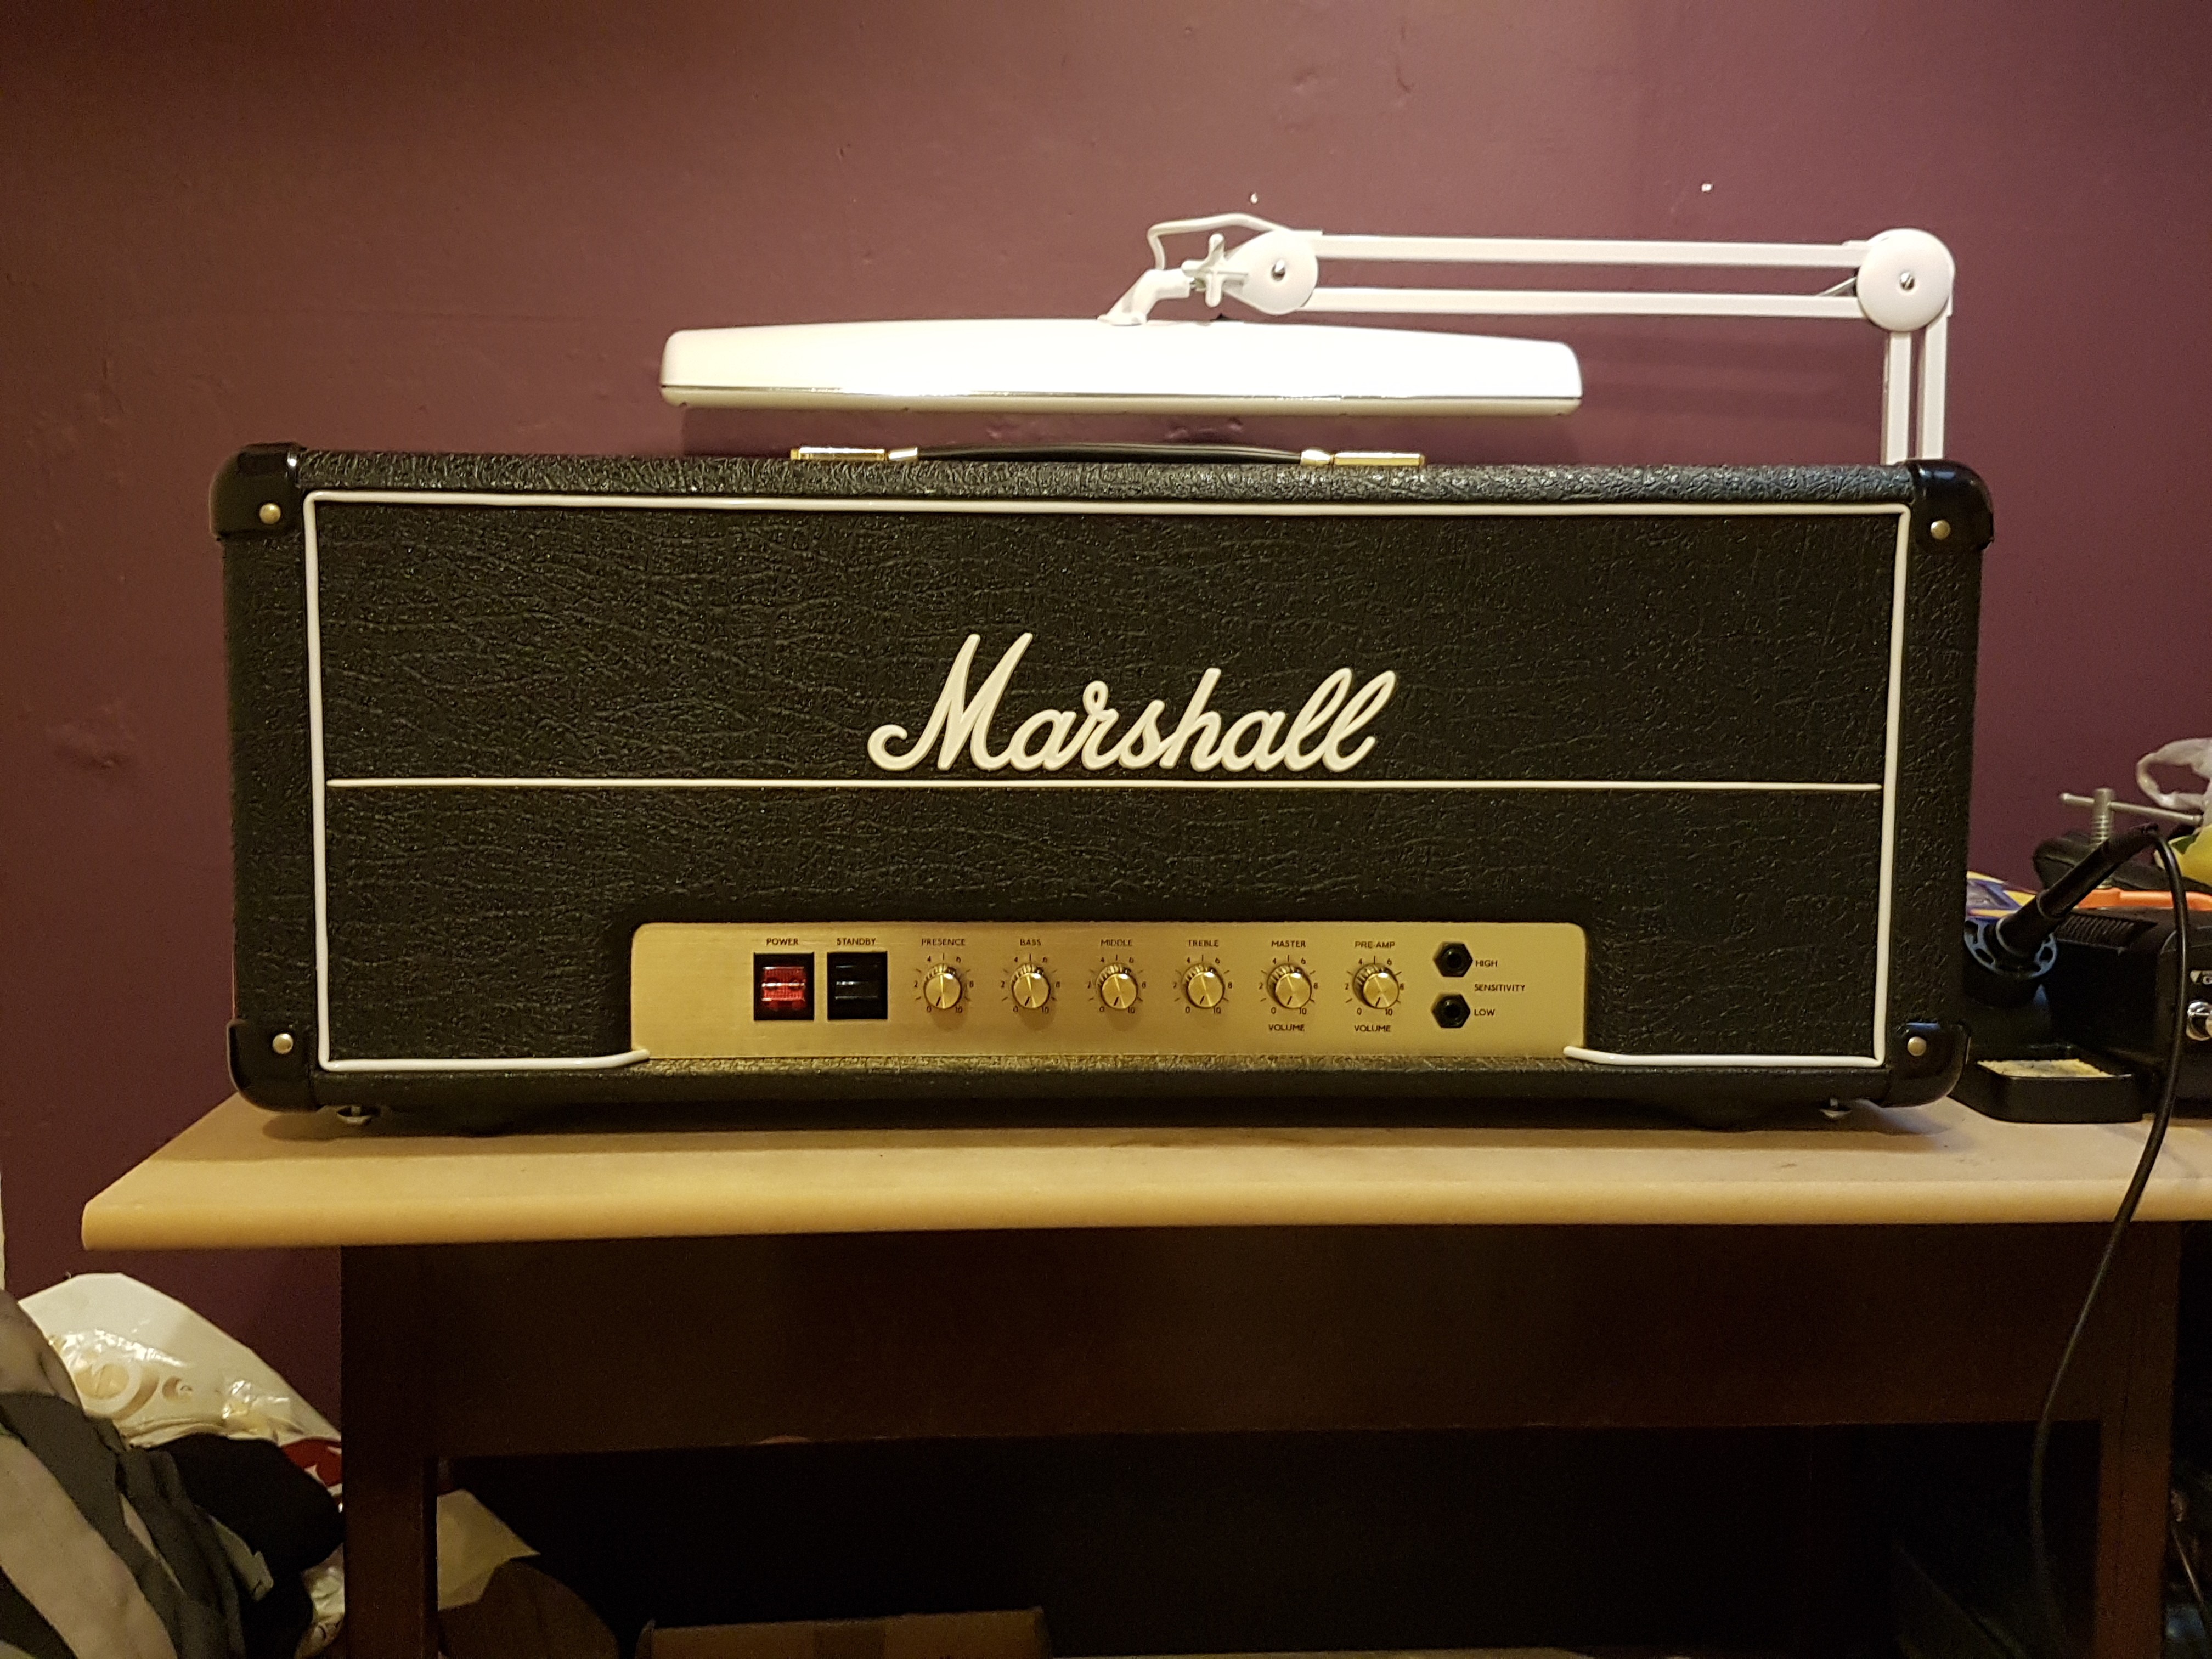
So then I ordered a lot of the parts from Valve Storm including the head shell for this build.
When I got it I was a little disappointed with its finnish but I quickly saw an opportunity for another project I had never attempted before.
It was covered with plexi Levant Tolex and the piping looked too small in diameter. It had that 3mm lip at the bottom edge of the controls panel and the mesh inside looked like a beaver chewed it out rather than being cut.
This is in no way a reflection on Valve Storm because I have to stress Robert was an absolute gentleman to deal with. He didn't make the cab. I wouldn't hesitate to buy from him again in the future, he was first class.
I wanted it to look like a 2203 so out came the hair dryer and I began heating up the Tolex. Since it was probably only recently covered it softened up pretty easily. Once I had a bit of it up the rest came off like skinning a rabbit.
I got a Ryobi orbital sander with the mesh sanding pads 80 grit and between that and some scraping with a razor blade I got all the glue off. I had blisters by the end of it but it was done.
I plained down the 3mm lip till it was flush and sanded it to a finnish. Then I cut shaped and sanded two strips of pine and glued and tacked them to the two bottom edges of the front panel to fill the gap left by the removal of the 3mm lip.
The channel for the piping that runs accross the front panel was now too high so I filled it with an epoxy wood filler and sanded it flush. I then used a Dremel with a plunge router fitting to re-cut the slot in the right position.
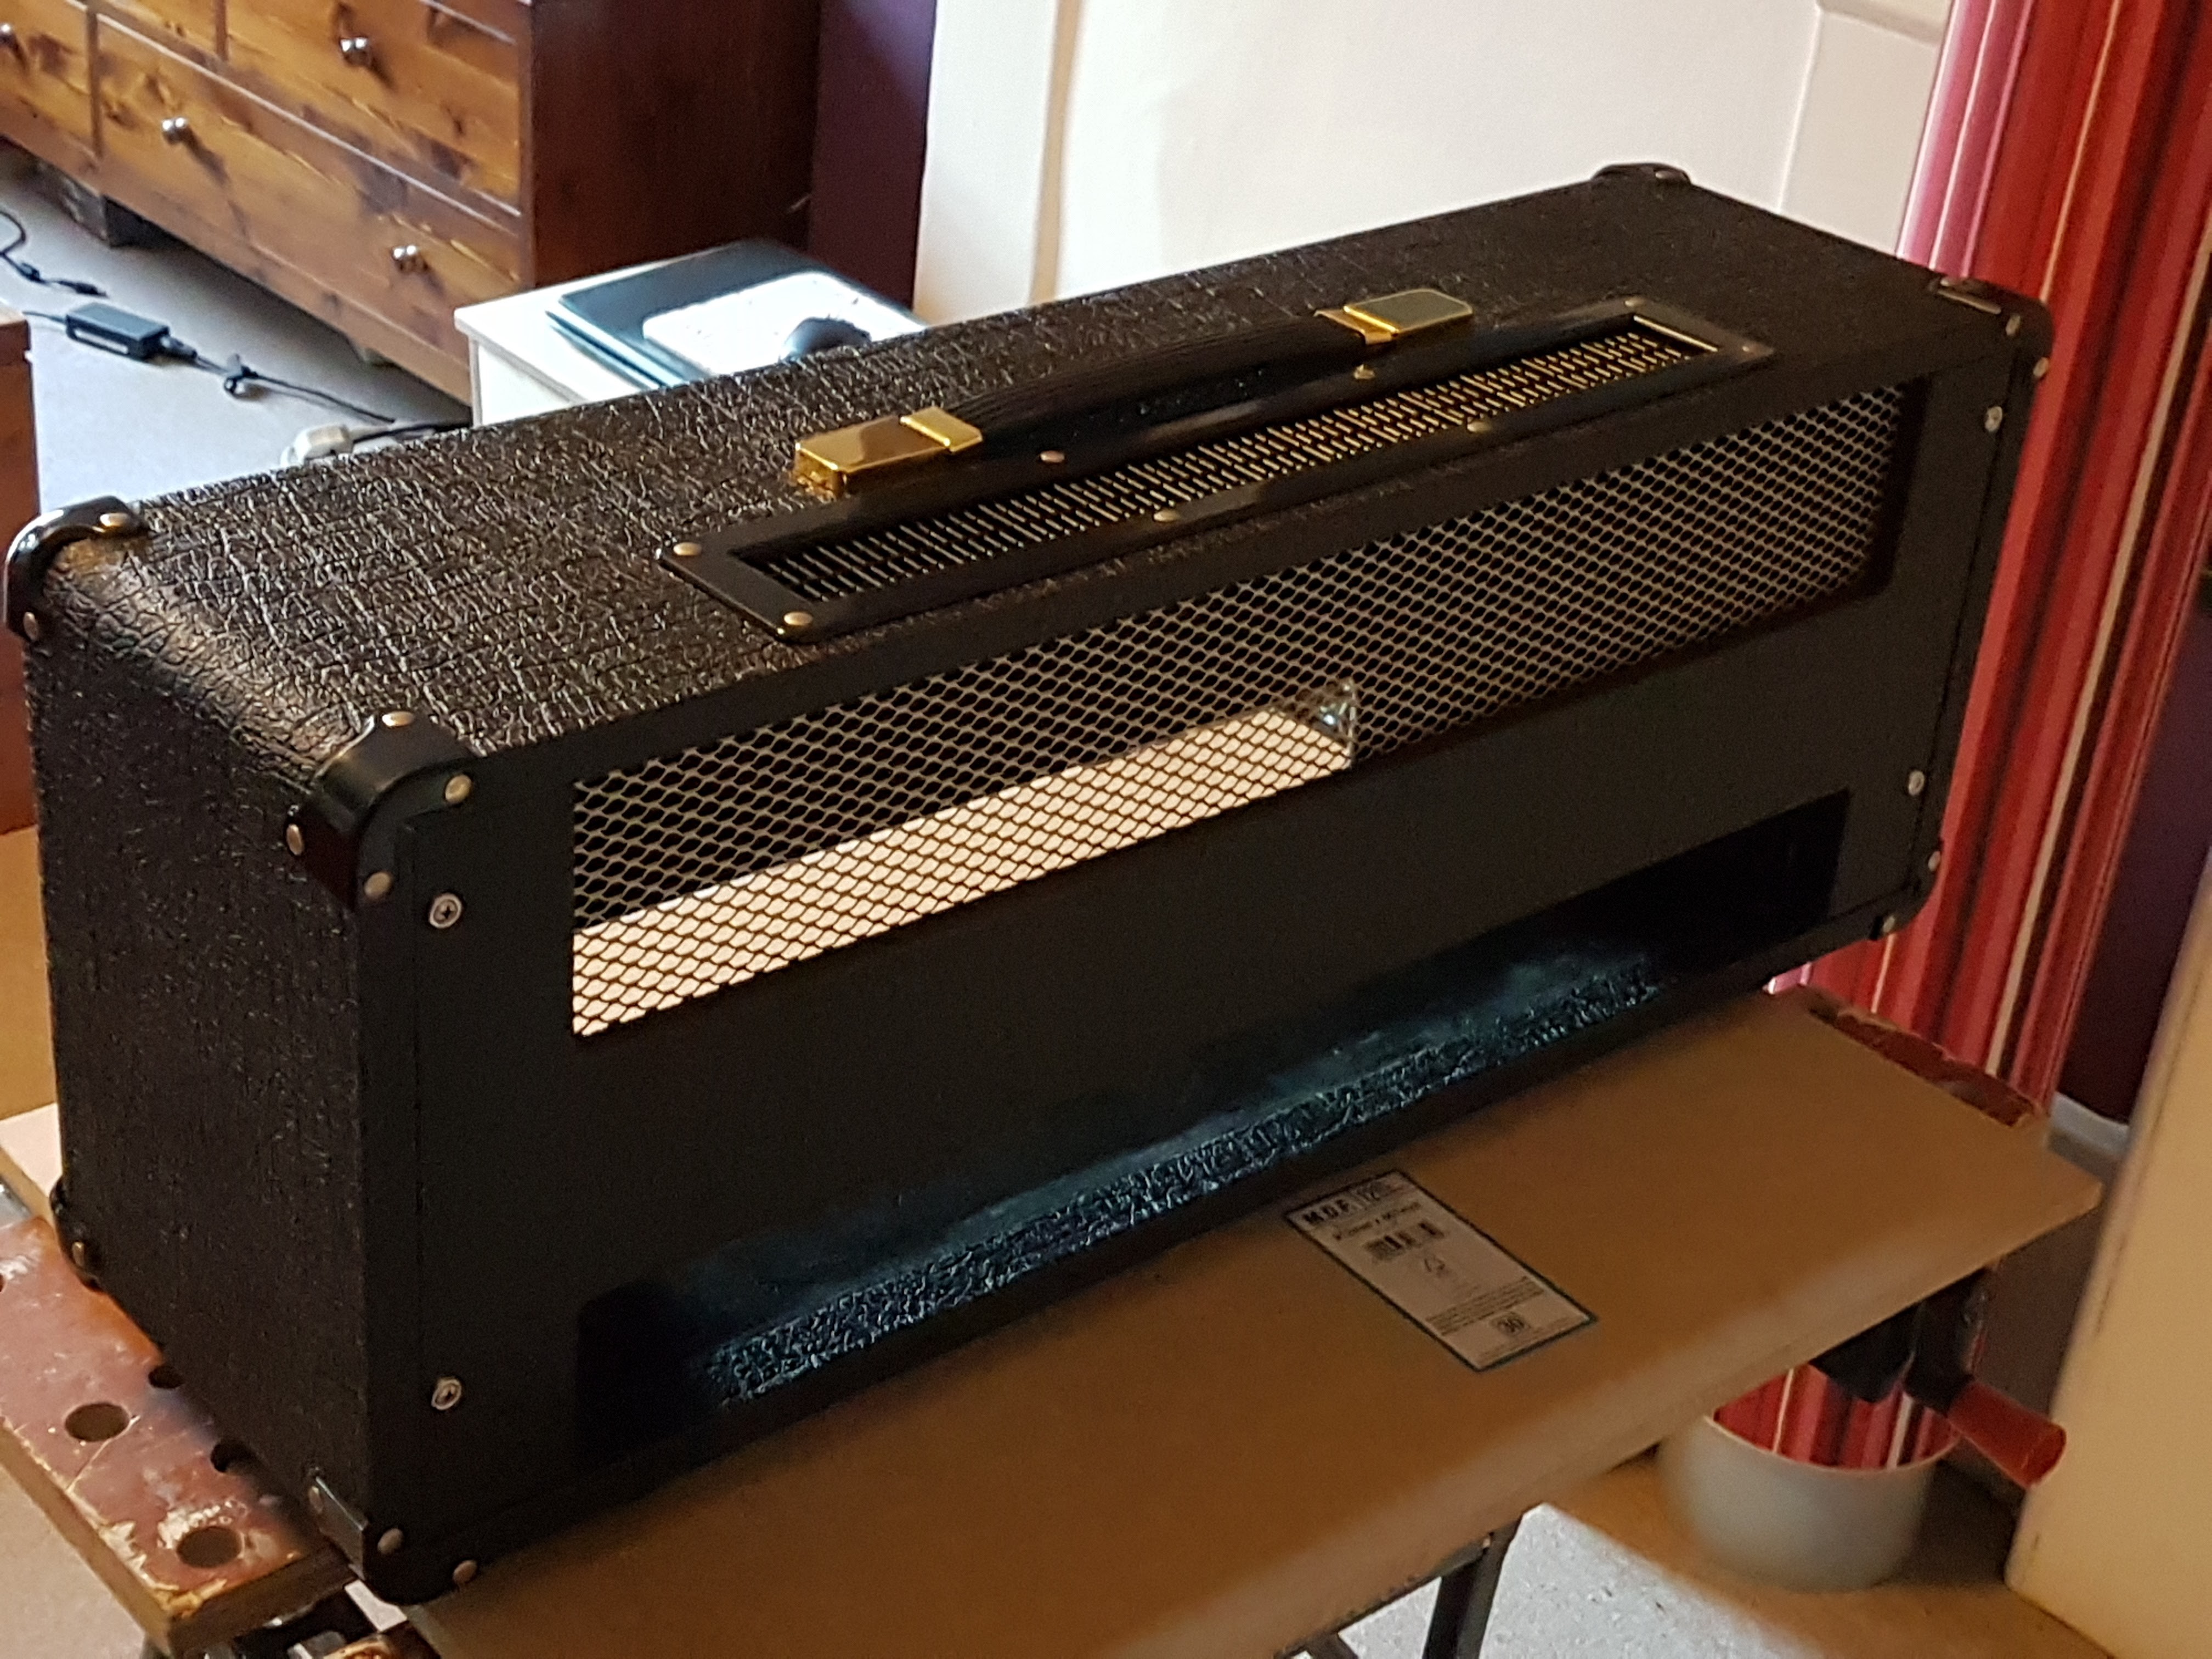
I then cut the rear panel mesh properly and re painted it with gold Hammerite and sprayed the internals mat black.
Then it was time for the Tolex. I went with a water based glue made for gluing laminate to wood in kitchen type furniture by 3M. This was much cheaper than the Tolex glue I could get hold of in the UK and is exactly the same stuff.
The Tolexing went fairly well, I had a couple of bits that lifted but I later heated it up with the hair dryer and pressed it back down as it cooled and it has all stuck really quite well.
So then I went about refitting the hard wear with new rivets. I used all new Marshall hardware including the shock absorber feet. I also went with Marshall Tolex.
Then I marked up and drilled the logo, job done!
I gotta say I'm really glad I did it, it would have bugged the hell out of me if I left it. Just took it nice and steady and it all came together.
Last edited by revolver1 on Fri Oct 06, 2017 9:21 am, edited 1 time in total.
-
revolver1
- Senior Member
- Posts: 511
- Joined: Thu Jul 28, 2011 1:37 am
- Just the numbers in order: 7
-
revolver1
- Senior Member
- Posts: 511
- Joined: Thu Jul 28, 2011 1:37 am
- Just the numbers in order: 7
-
revolver1
- Senior Member
- Posts: 511
- Joined: Thu Jul 28, 2011 1:37 am
- Just the numbers in order: 7
Re: 2203 build, attempting image links
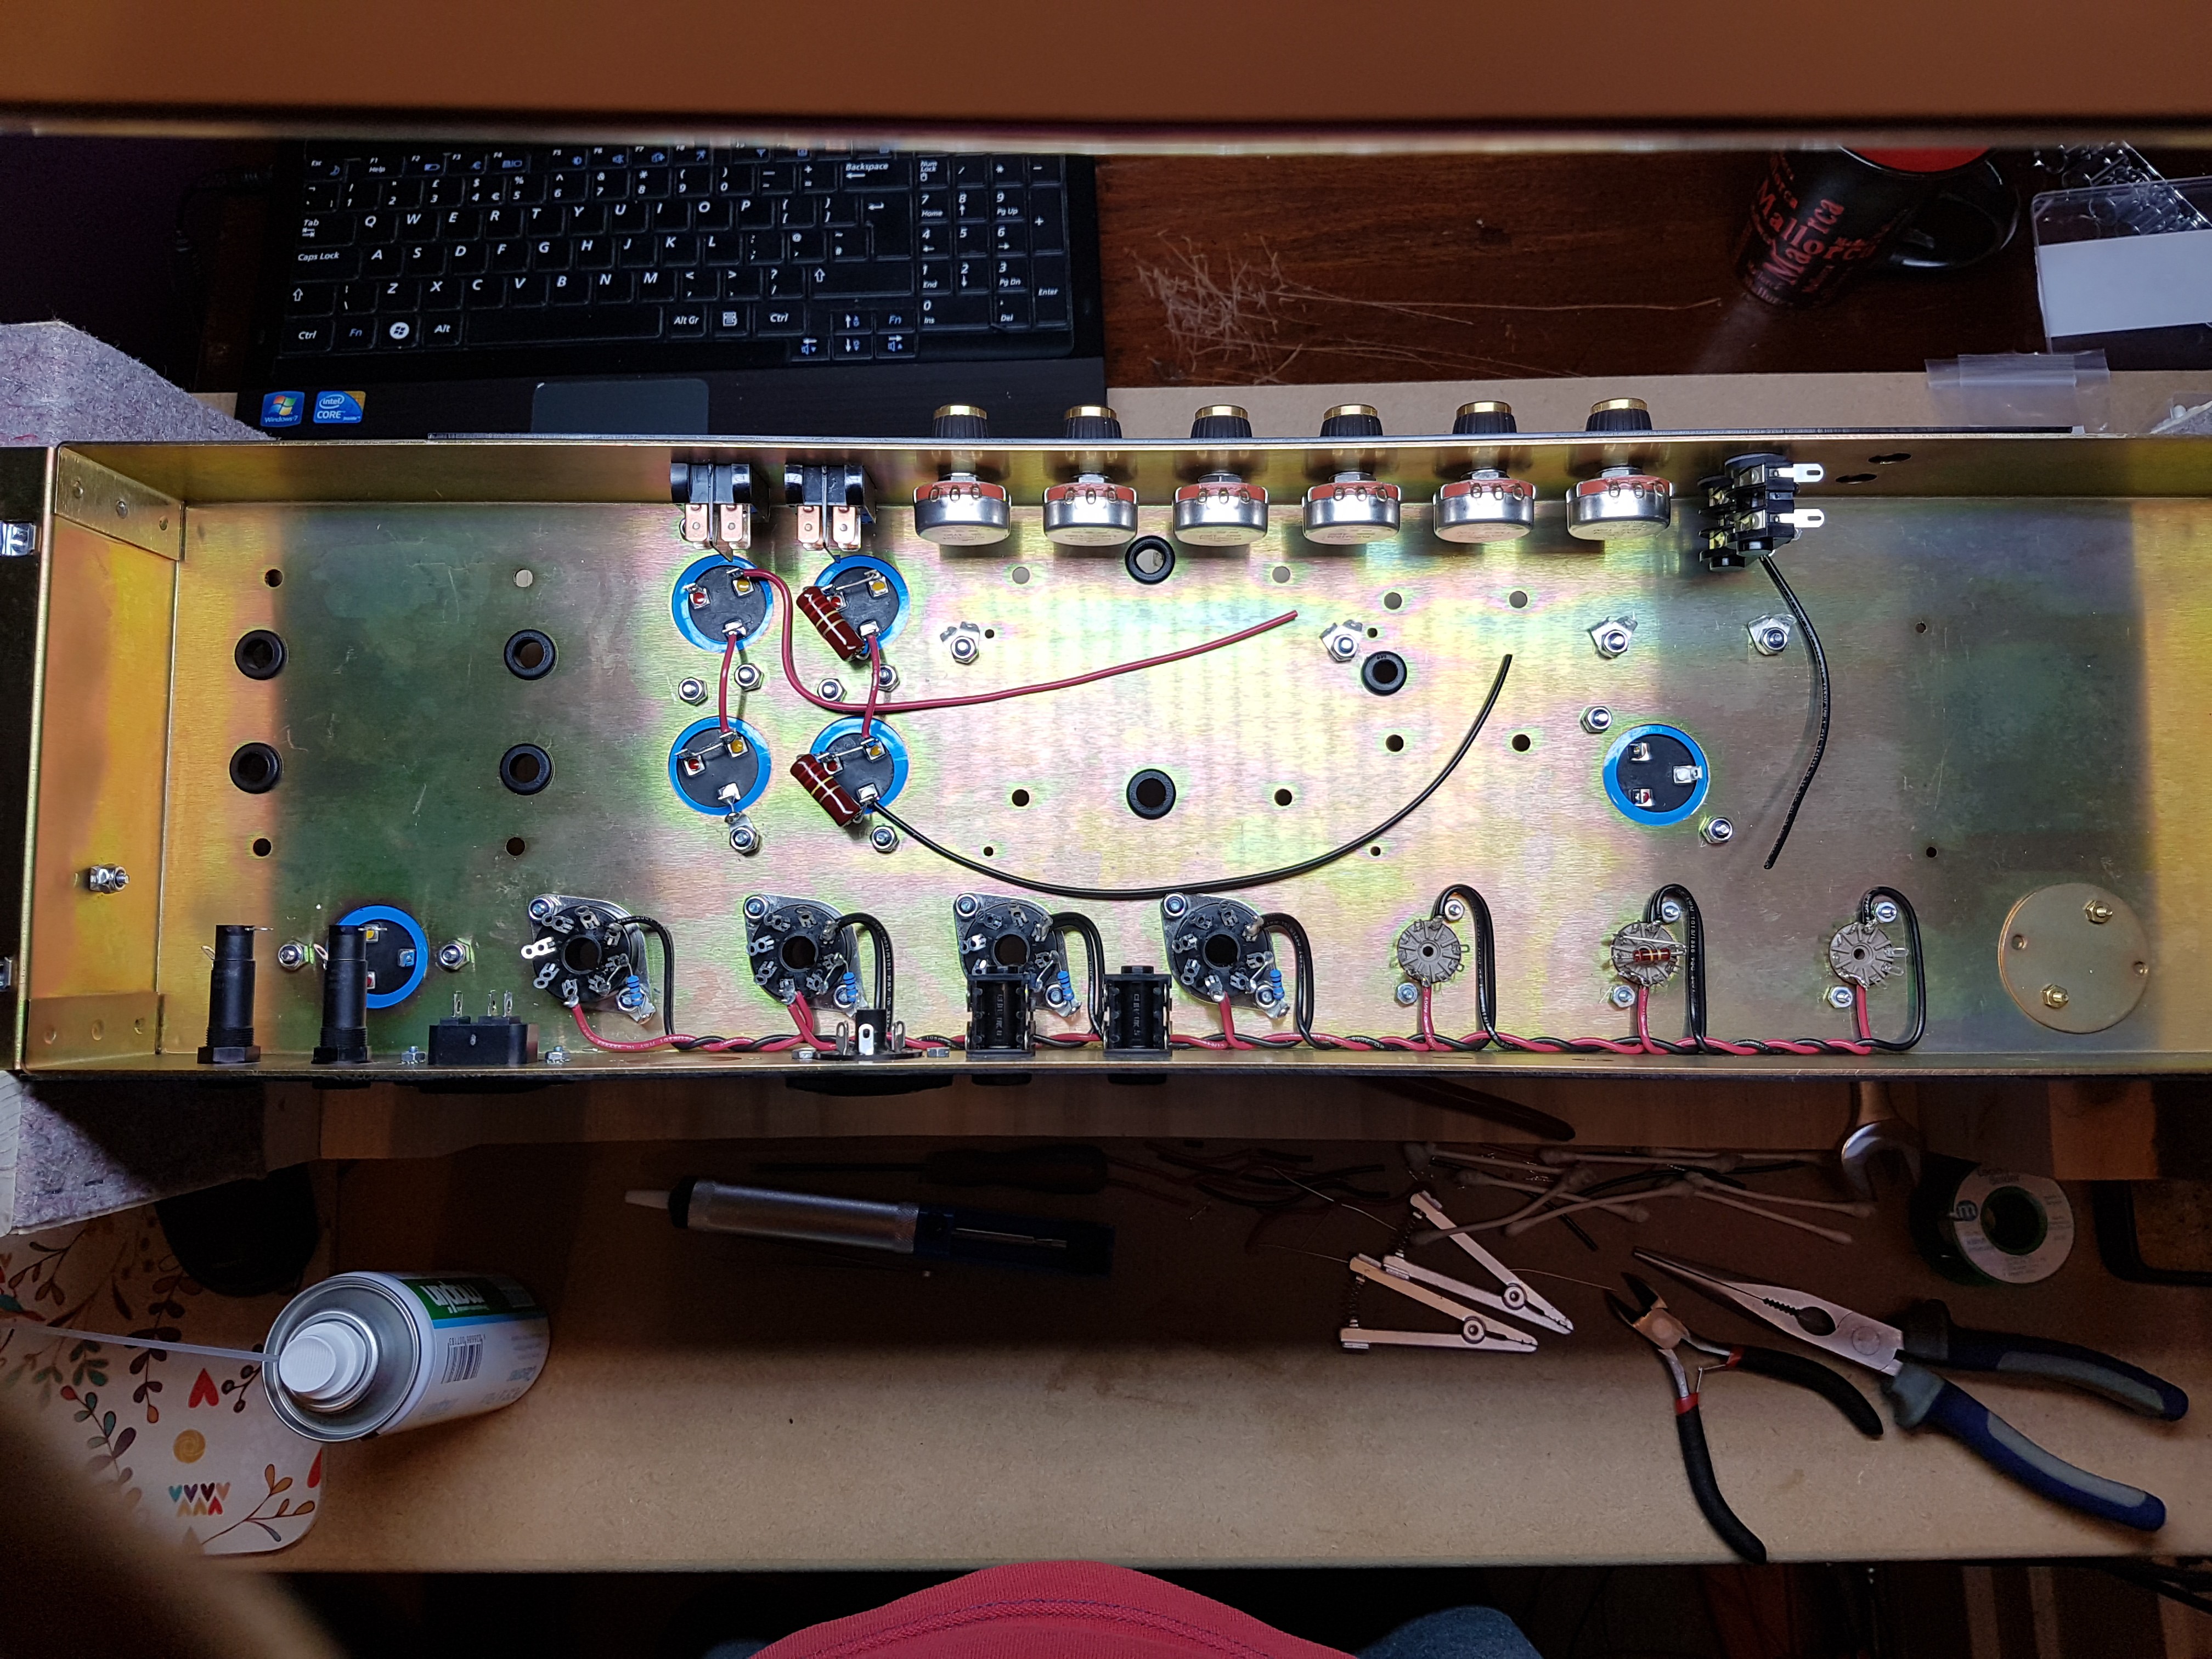
Now starting to put it together. I'm still waiting for the transformers which is a bit of a pain but I'm just going to get as much done as I can with out them.
It's actually quite good getting a lot of the bits done with out the weight of the iron to contend with but I think I'll be happier once the iron is here.
Last edited by revolver1 on Sun Oct 08, 2017 3:42 am, edited 1 time in total.
-
revolver1
- Senior Member
- Posts: 511
- Joined: Thu Jul 28, 2011 1:37 am
- Just the numbers in order: 7
Re: 2203 build, attempting image links
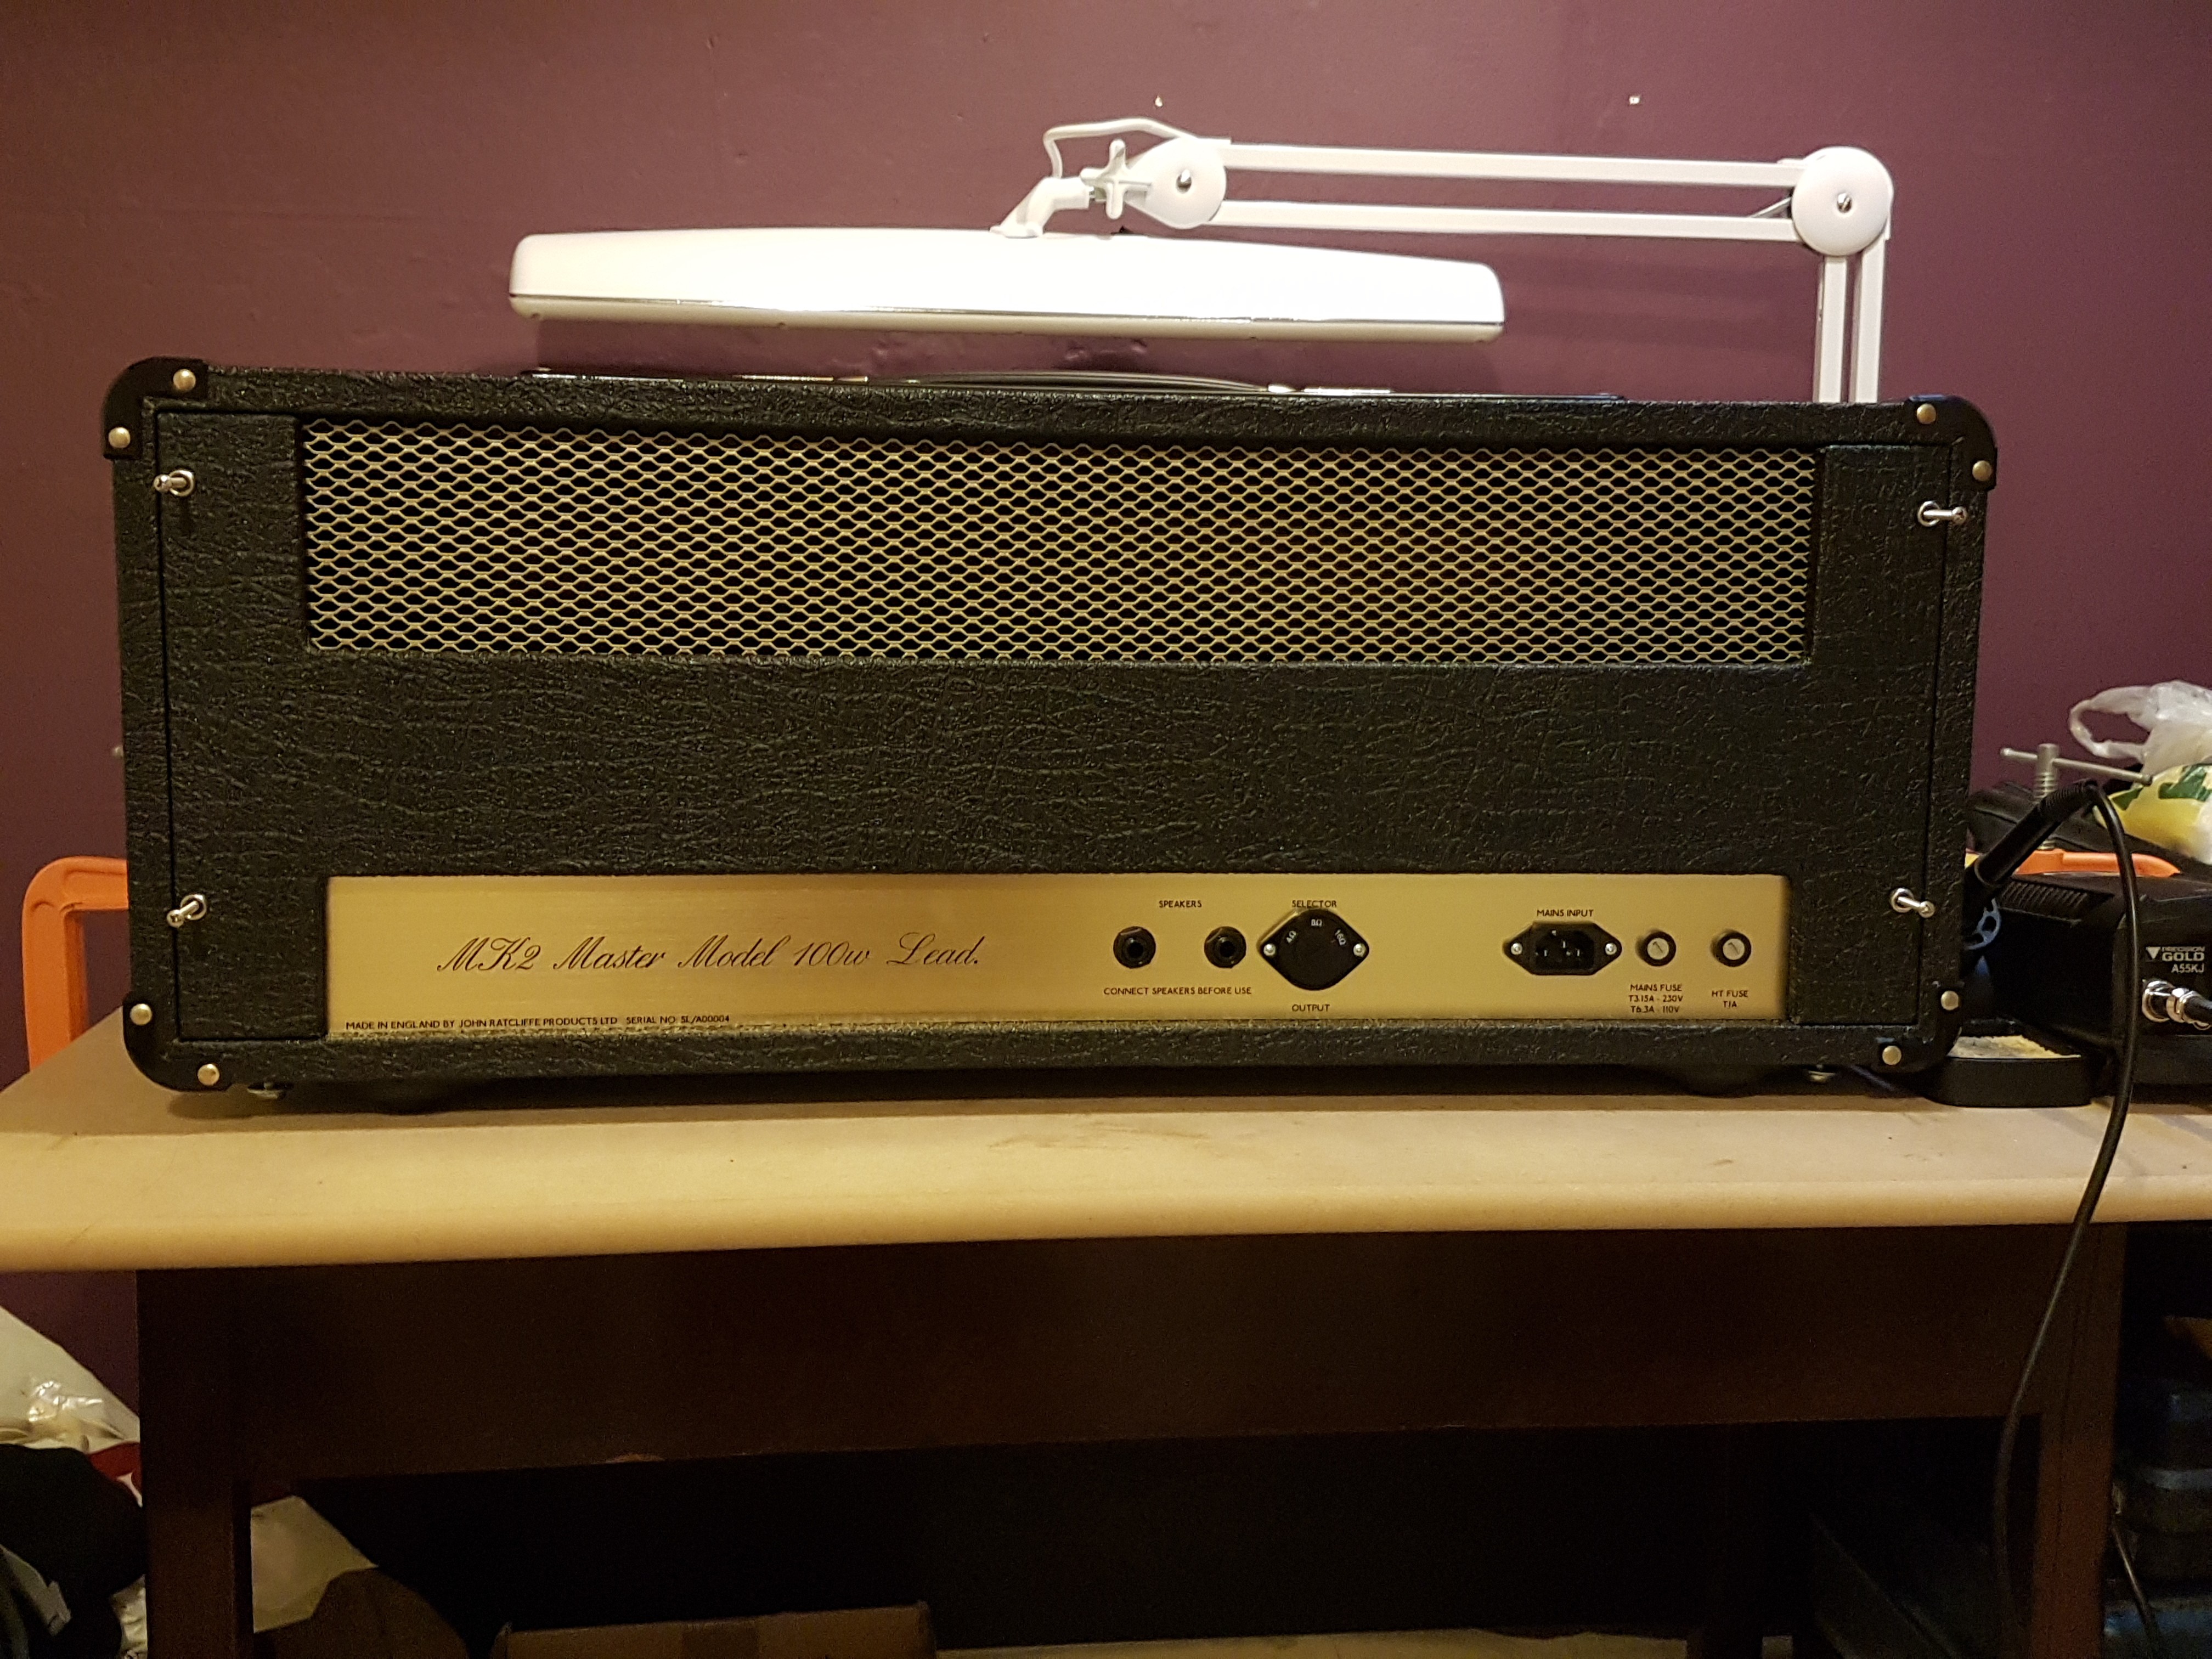
Here's a couple of shots, a sneak preview. Once I got the panels on I couldn't resist seeing what it will look like in the head shell.
I got some aluminium flashing that I need to cut and staple in the shell for screening.
Last edited by revolver1 on Sun Oct 08, 2017 3:48 am, edited 1 time in total.
-
revolver1
- Senior Member
- Posts: 511
- Joined: Thu Jul 28, 2011 1:37 am
- Just the numbers in order: 7
Re: 2203 build, attempting image links
I ended up sending all the face plates off to Michael at Modulus amplification based in Kirriemuir up in Scotland (the birth place of Bon Scott no less). Which is a bit of a coincidence since I grew up in the Adelaide hills in South Australia where Bon lived for a time before AC/DC happened.
I wanted to get the JMP logos added to the face plates and a few addittions to the rear plates.
If you have the ability to zoom in take a look at the bottom left hand corner of the rear panel.
Michael did a great job, I actually asked him to make this one from scratch as he could do a more authentic brushed gold look which I think looks really great.
His plates are actually engraved. I had wanted the JMP logo on this one but he missed it off i think he had had enough of face plates when he was done.
I may have to get some viynal lettering at a later date.
-
revolver1
- Senior Member
- Posts: 511
- Joined: Thu Jul 28, 2011 1:37 am
- Just the numbers in order: 7
-
danman
- Senior Member
- Posts: 1099
- Joined: Tue Sep 10, 2013 9:09 pm
- Just the numbers in order: 13492
Re: 2203 build, attempting image links
Really great looking build you've got going there!! I bet it'll sound just as great as it looks! 
-
revolver1
- Senior Member
- Posts: 511
- Joined: Thu Jul 28, 2011 1:37 am
- Just the numbers in order: 7
Re: 2203 build, attempting image links
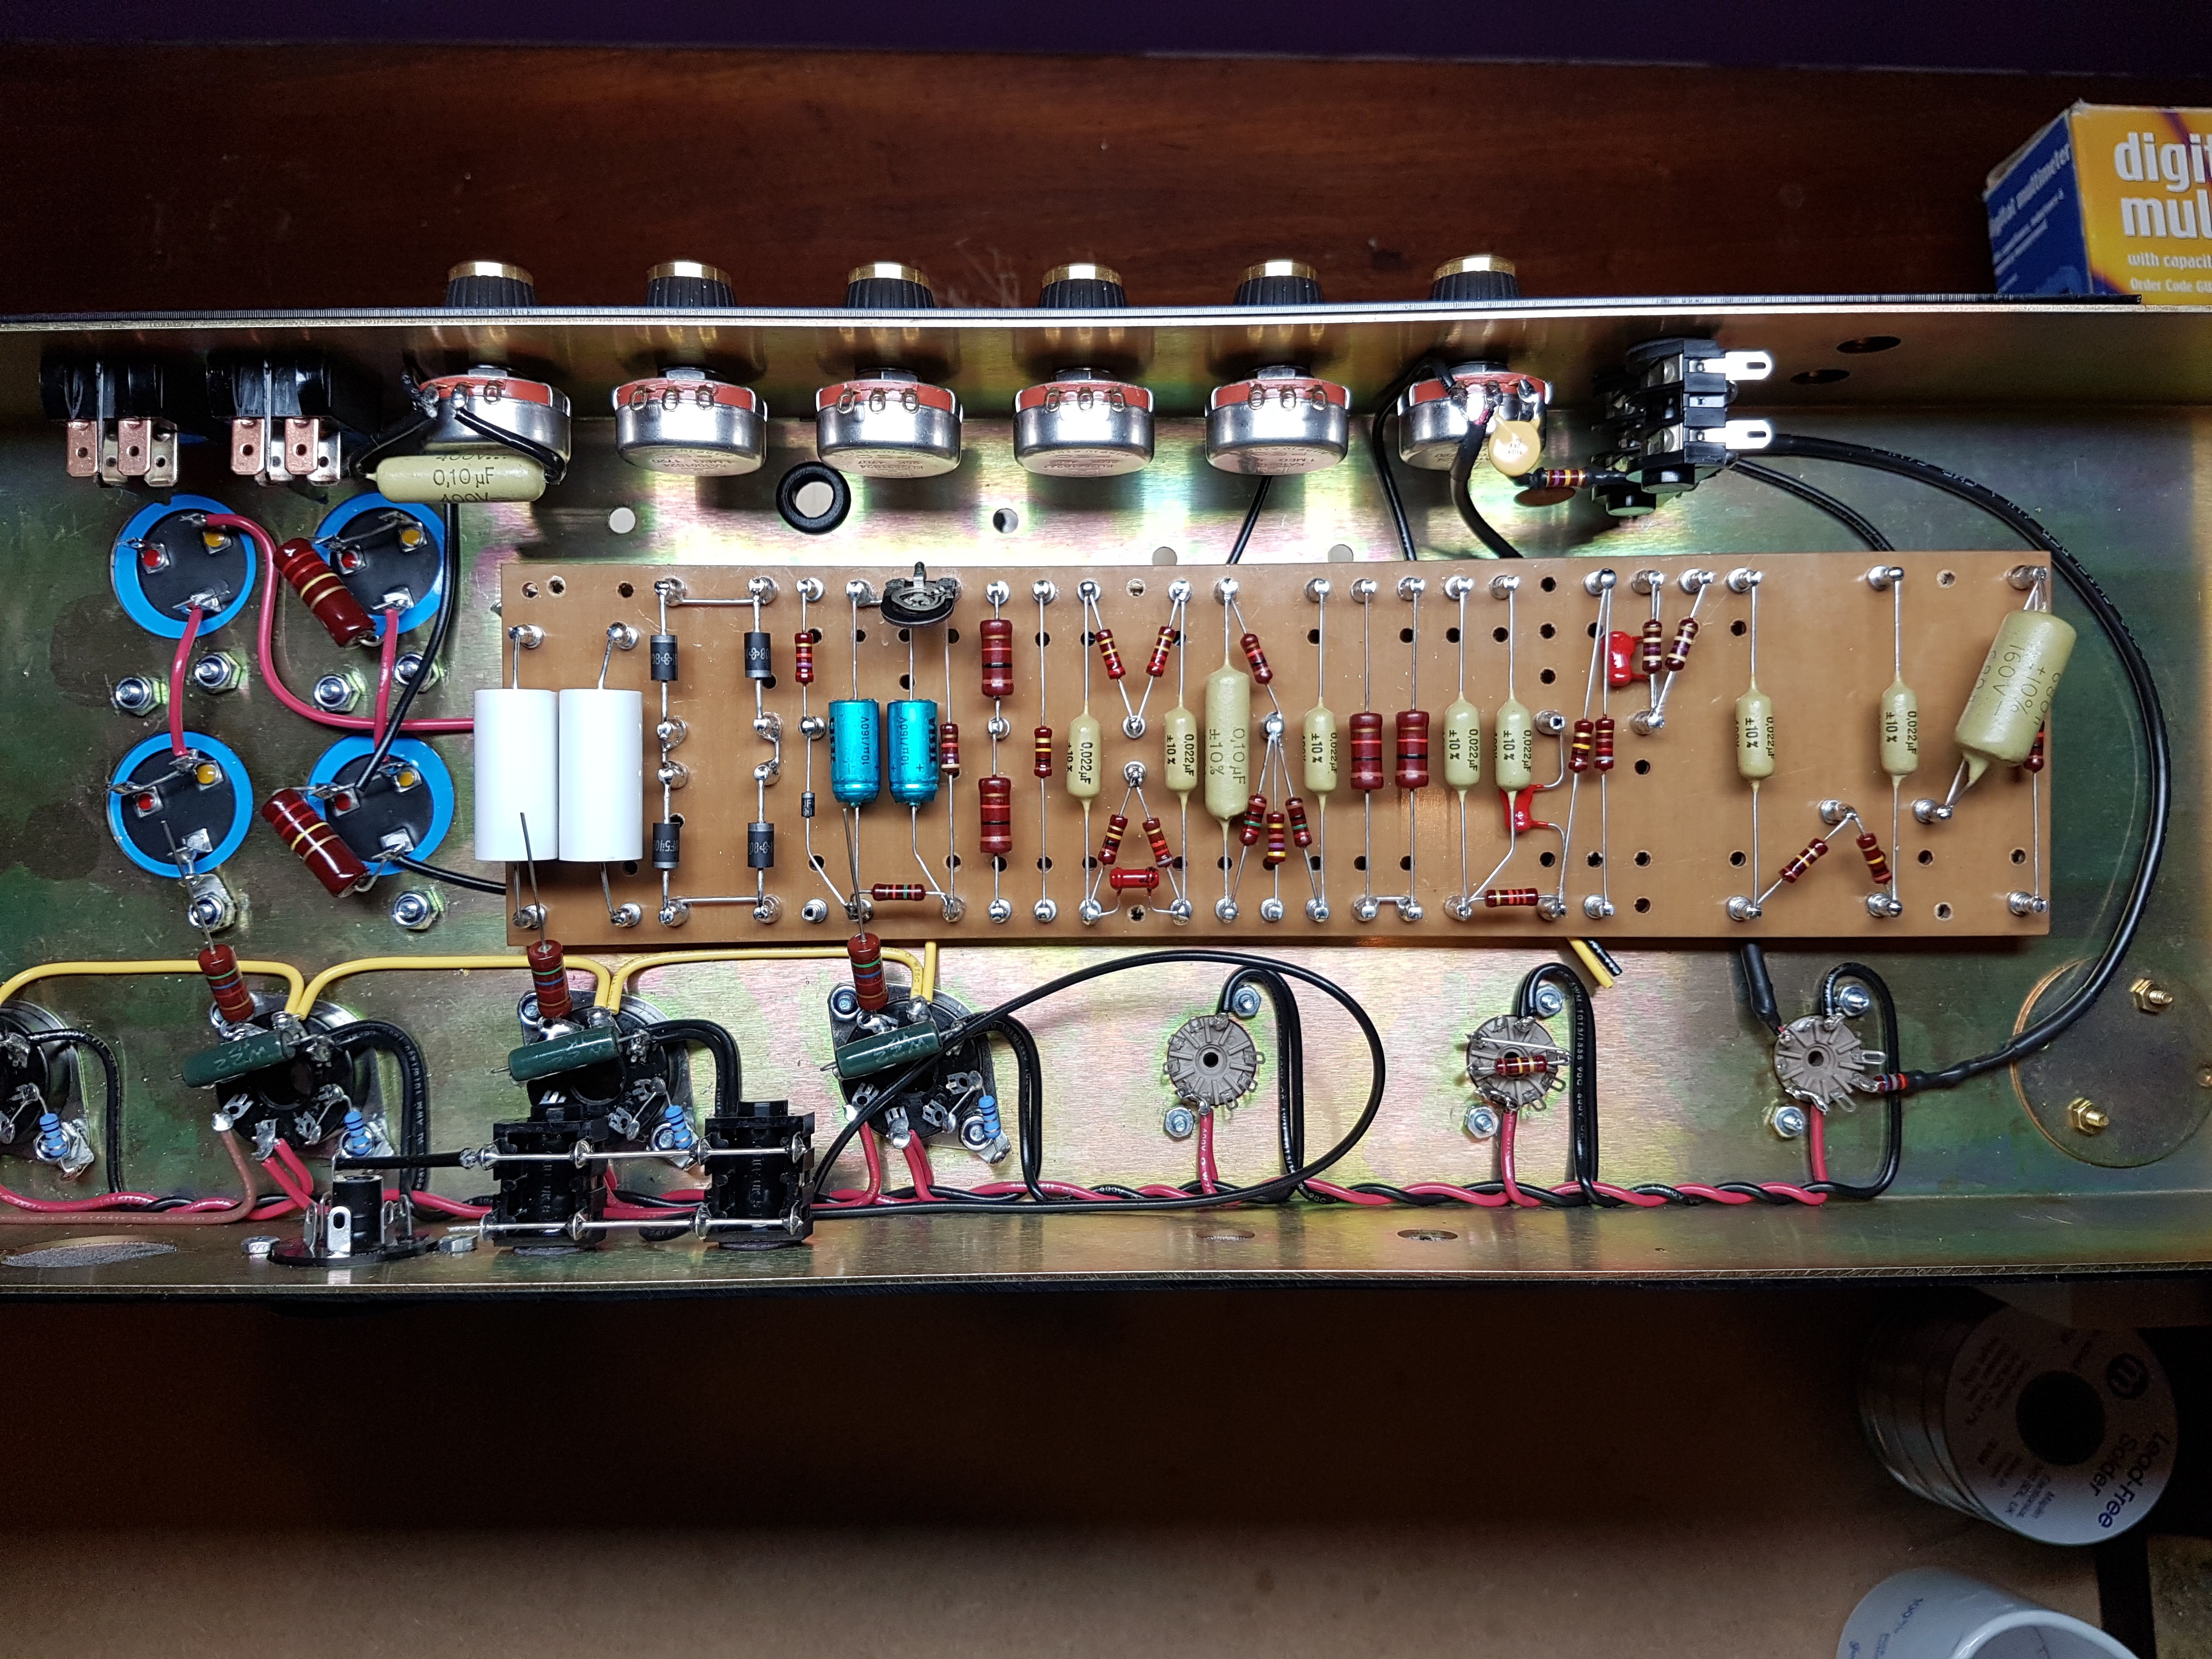
Got the board done last weekend along with the octal sockets and V1a/V1b preamp arrangement.
I won't be able to get much done this weekend but there is only the wires for the board and a couple of bits then I'll be desperate for the transformers.
Some of you may have read I started a thread over in the general beginners section asking for advice on the V1a/b set up. For those that haven't read it....
I realised when I came to do the board as I was looking at a different lay out that on the 100w master instructions they have reversed the connections at V1 for the input jack and preamp pot. This differs from Marshalls original lay out and is said to be quieter.
Although I have made minor changes so it's not a 100% clone as in star ground scheme, 1uf presence circuit, snubbers, I do like to keep it fairly stock.
As advised it probably wouldn't make any difference but
the wire I used for that section was 2 core Beldon instead of coaxial. I've ordered some coax and I will probably more likely than not redo that section. I'll probably still be waiting for the trannies any way.
One more point, the trimmer I got is probably installed the wrong way around, not that It will make any difference to the way it works it just looks a little more interesting this way round.
Anyways the plan was to be able to adjust the trimmer from outside the chassis.
This is all good but it should be noted this particular NOS trimmer is not insulated as in when the screw driver touches it the screwdriver will become live.
This poses an issue if a lapse in concentraition caused one to drop or brush the screwdriver shaft against the chassis edge. As a result I will only ever use a fully insulated electrical screwdriver for bias adjustments.
Last edited by revolver1 on Thu Oct 12, 2017 3:23 am, edited 4 times in total.
-
revolver1
- Senior Member
- Posts: 511
- Joined: Thu Jul 28, 2011 1:37 am
- Just the numbers in order: 7
Re: 2203 build, attempting image links
Many thanks Danman for the kind words.
- neikeel
- Senior Member
- Posts: 7231
- Joined: Tue Dec 06, 2005 8:31 am
- Location: Suffolk, England
Re: 2203 build, attempting image links
Looking fantastic so far, great attention to detail.
I see you have another planned?
I see you have another planned?
Neil
