1969 SB build - the journey begins

Share your home builds, knock offs and ground up customs.
young flower
Senior Member
Posts: 119
Joined: Sun Mar 04, 2012 7:38 pm
Just the numbers in order: 13492
Location: Austria, Vienna

1969 SB build - the journey begins

Post by young flower » Sun Jun 16, 2013 7:58 am

Here it is - another plexi build. After months of gathering parts and information, I finally started assembling my 1969 SB - it´s my first amp build ever. I´m using the Metro 100W kit instructions as my main guide with just some slight changes.

The reason that there will be minor differences to the instructions in my build, is that I´m using the laydown mount 1203-80-ML PT - as opposed to the stand up version used in the instructions. This calls for different wire dress. In addition to that, it was recommended to me in another thread to change the power switch wiring, to make the amp a bit safer. My altered power switch wiring is modeled after a TAD SL kit layout. And to improve on the stock grounding, I decided to implement SDM grounding on my amp. All of this was discussed in separate threads, which can be found here:

http://forum.metroamp.com/viewtopic.php?f=7&t=41152" onclick="window.open(this.href);return false;
http://forum.metroamp.com/viewtopic.php?f=7&t=41095" onclick="window.open(this.href);return false;
http://forum.metroamp.com/viewtopic.php?f=7&t=41814" onclick="window.open(this.href);return false;


So far, I finished fitting all the main components to the chassis. Today, I´ll start soldering. This build might take a bit long to finish, since I have a lot of other stuff on my mind lately. But I surely will reach my destination in the end.

Chassis is the 1969 steel chassis from Valvestorm, trannys from Heyboer, board from Brian H, NOS mustards - let´s get the party started.

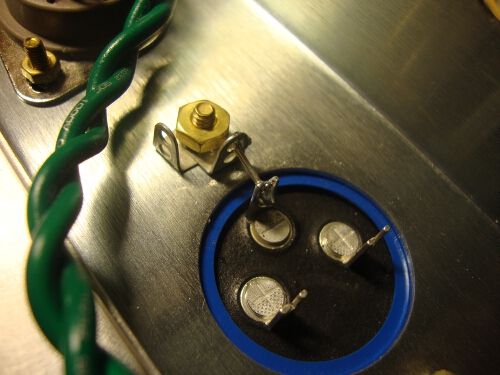
First pictures:
Image
Image
Image
Image
Image
Image
Image
Image

User avatar
axeman
Senior Member
Posts: 2464
Joined: Wed Apr 02, 2008 1:21 pm
Just the numbers in order: 7
Location: Los Angeles
Contact:

Re: 1969 SB build - the journey begins

Post by axeman » Sun Jun 16, 2013 10:11 am

Don't stop. I'm liking it.

young flower
Senior Member
Posts: 119
Joined: Sun Mar 04, 2012 7:38 pm
Just the numbers in order: 13492
Location: Austria, Vienna

Re: 1969 SB build - the journey begins

Post by young flower » Sun Jun 16, 2013 11:14 am

Thanks. I won´t ;).

User avatar
neikeel
Senior Member
Posts: 7231
Joined: Tue Dec 06, 2005 8:31 am
Location: Suffolk, England

Re: 1969 SB build - the journey begins

Post by neikeel » Sun Jun 16, 2013 1:05 pm

:popcorn: 8)
Neil

young flower
Senior Member
Posts: 119
Joined: Sun Mar 04, 2012 7:38 pm
Just the numbers in order: 13492
Location: Austria, Vienna

Re: 1969 SB build - the journey begins

Post by young flower » Sun Jun 16, 2013 6:58 pm

Oke - very slow progress today because I had a little mishap. Since a lot of dust had accumulated inside the chassis, I decided to clean it with a rag with water plus cleaning agent (and dried with another clean dry rag after that) before I start to build. After that I was so clever to leave the bowl with the water on the working surface which is the desk in my room. I covered the desk with old newspapers to protect it against damage. The rag was hanging on the bowls edge one half in the water, other half touching the old newspapers - which slowly soaked the water until a little pool had developed exactly where my OT had been sitting upside down. It took me about half an hour until I noticed that and after that I got scared that maybe the water had even sucked into the trannies laminations. So - long story short - I unscrewed the OT and removed the transformer bells to check if everything is oke. A bit of water had been sucked into the gap between transformer bells and laminations - but I think nothing got inside the tranny.

After that I only had time to do the heaters, heater CT and the first of the two bias wires:

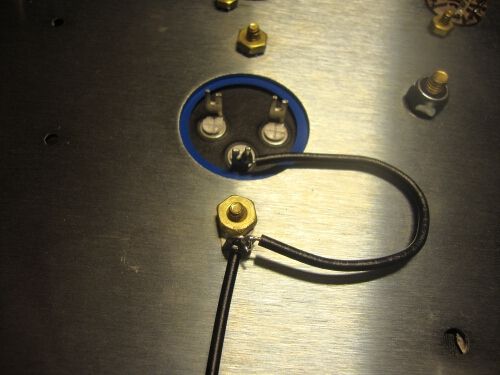
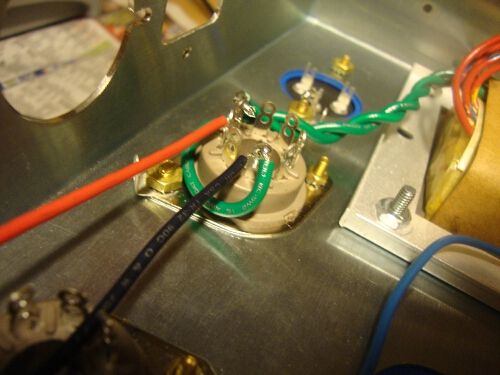
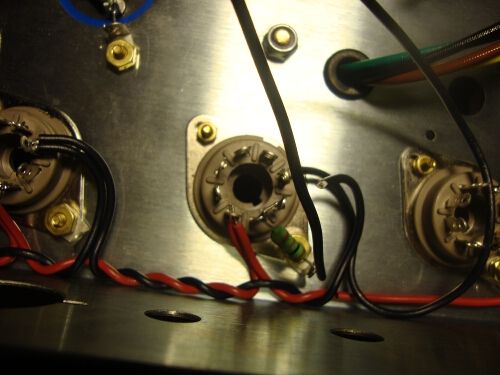
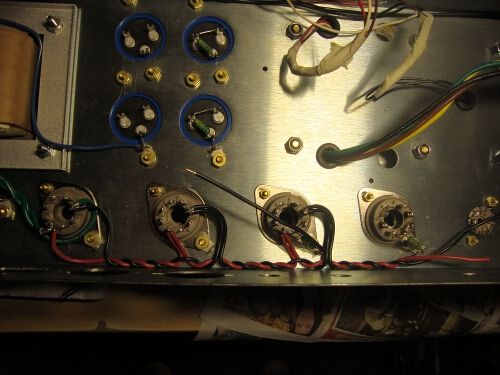
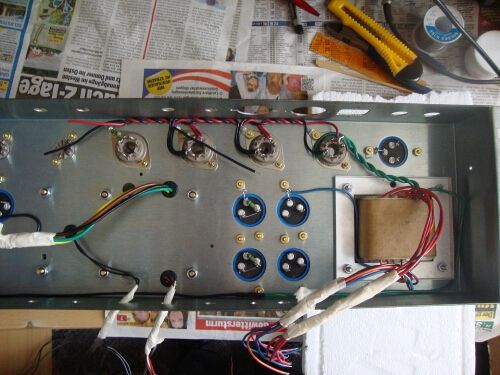
Here are the heaters - avoiding an AC loop around V7 - as suggested by Neil. What can also be seen in this picture is that the bias ground wire goes to the F4 ground lug - this is due to SDM grounding:

Image

Tip: If somebody is asking him/herself how to best remove the insulation from these thick heater wires (and all the others too). I found the best method is to exactly mark the point where you want to cut, use a Stanley knife/box cutter and cut into the insulation step by step until you did a full circle. Just gently apply pressure to the blade until it sinks into the plastic, stopping when you hit the resistance of the metal core. In between you can gently bend the wire at the cutting point to separate the insulation you want to remove from the rest (the gap gets bigger by doing that and it will be easier to see where you cut and if you cut deep enough). After that, simply remove the piece of insulation with your finger tips.

I extended the heater CT with a black wire, double shrink-wrapped it and routed it to the F1 ground lug where the input grounds will attach later (again a suggestion from Neil):

Image
Image
Image
Image

That´s all for today - I´m off to sleep. Goodnight to all of you.
Last edited by young flower on Mon Jun 17, 2013 4:55 am, edited 1 time in total.

julkke
Senior Member
Posts: 675
Joined: Mon Mar 19, 2012 1:07 pm
Just the numbers in order: 13492
Location: Finland

Re: 1969 SB build - the journey begins

Post by julkke » Mon Jun 17, 2013 4:00 am

Love your attention to detail man, keep it up! That's the way to go to build an amp properly, I bet this will be one badass monster! :wink:

young flower
Senior Member
Posts: 119
Joined: Sun Mar 04, 2012 7:38 pm
Just the numbers in order: 13492
Location: Austria, Vienna

Re: 1969 SB build - the journey begins

Post by young flower » Mon Jun 17, 2013 5:02 am

Thanks :). Yes - I hope so too. I put a lot of time and effort into this project.
And to really get into the mood - I´ll sometimes post music I´m listening to while soldering:
http://www.youtube.com/watch?feature=pl ... 3qxsQZBN0M" onclick="window.open(this.href);return false;

young flower
Senior Member
Posts: 119
Joined: Sun Mar 04, 2012 7:38 pm
Just the numbers in order: 13492
Location: Austria, Vienna

Re: 1969 SB build - the journey begins

Post by young flower » Thu Jun 20, 2013 4:54 pm

Oke - made some progress.
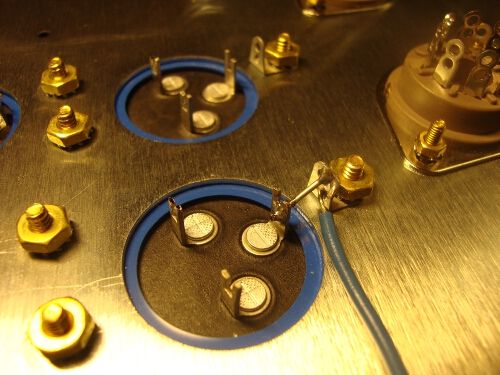
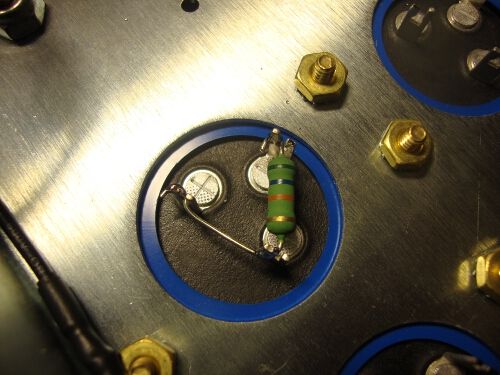
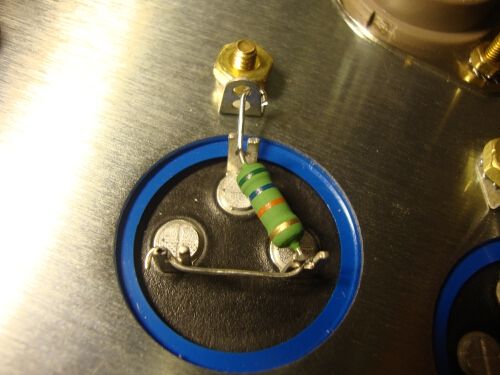
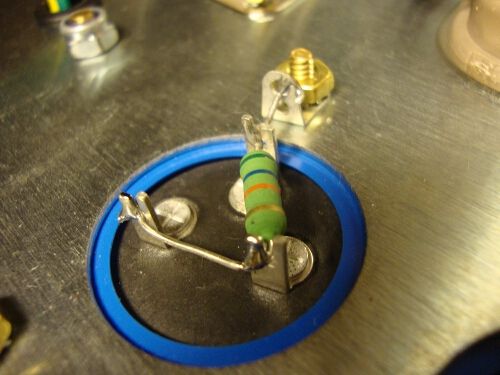
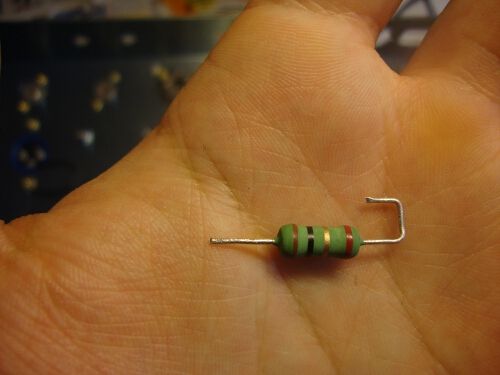
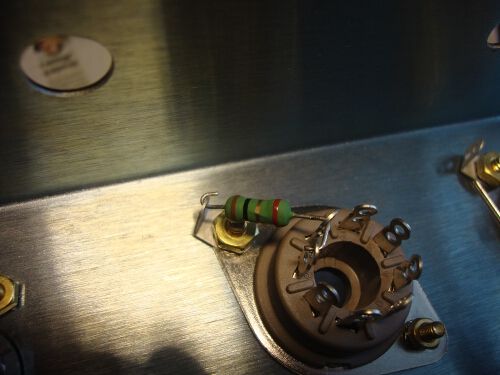
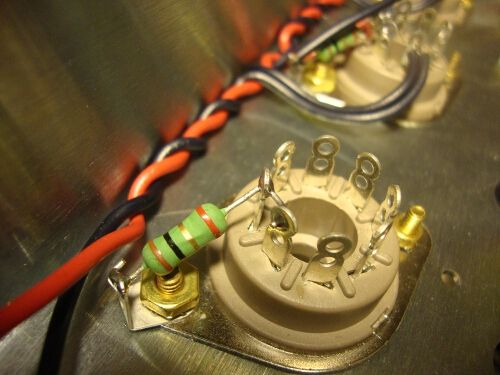
I did some buss wire connections on the filter cans, installed two of the four 1ohm bias resistors (because I noticed the nuts need to be tightened more on the other two sockets), connected the ground wire to F1´s ground lug and started wiring the heaters. I´m not quite sure my wiring method for the heaters is good - I´d appreciate some feedback on that.

When I did some buss wire connections to the filter can ground lugs and on V7, pins 2 and 7, I had to reheat the connections several times because I wasn´t satisfied with the positioning. That kind of bugs me since I know that reheating solder joints isn´t exactly the best thing to do. Also - I hope the filter cans didn´t take damage from the heat - we´ll see.

That´s it for now - more to come soon.

F6
Image
F4
Image

F3
Image

F2 before soldering
Image

F2 after soldering
Image

F1
Image

the 1 ohm bias resistors pre-bent
Image

and on the power tube sockets
Image

soldered
Image

heaters
Image

Image

Image

overview
Image

That´s where I´m at right now. Time to continue..

OnTheFritz
Senior Member
Posts: 1839
Joined: Wed Jan 21, 2004 12:30 am
Location: Warren, Mi

Re: 1969 SB build - the journey begins

Post by OnTheFritz » Thu Jun 20, 2013 9:49 pm

Looking great so far, nice job with the heaters! :toast:
"I don't like country music, but I don't mean to denigrate those who do. And for the people who like country music, denigrate means 'put down' " - Bob Newhart

julkke
Senior Member
Posts: 675
Joined: Mon Mar 19, 2012 1:07 pm
Just the numbers in order: 13492
Location: Finland

Re: 1969 SB build - the journey begins

Post by julkke » Fri Jun 21, 2013 3:29 am

Impressive!

RocketRob
New Member
Posts: 10
Joined: Sun Jun 16, 2013 7:43 am
Just the numbers in order: 13492
Location: Melbourne, Down Under.

Re: 1969 SB build - the journey begins

Post by RocketRob » Fri Jun 21, 2013 8:34 am

Wow,

Great attention to detail. Will watch with great interest.

Robert

young flower
Senior Member
Posts: 119
Joined: Sun Mar 04, 2012 7:38 pm
Just the numbers in order: 13492
Location: Austria, Vienna

Re: 1969 SB build - the journey begins

Post by young flower » Fri Jun 21, 2013 3:40 pm

Hey - thanks a lot guys. I appreciate it. I actually removed the heater wiring again yesterday - because I didn´t like the big loops where the red and black wires from pins 2+7 join the main strand of twisted wire. I´ll redo that this weekend a bit differently. I´ll keep you posted (pun intended).

I think I could use this opportunity to get something else done though and I´d appreciate advice on this:

You can´t really see it in the pictures but my chassis looks a bit smeary inside - I think that comes from touching it so often with my bare hands. There´s something like a faint smeary white haze, mixed with dust, spread unevenly all over the inside of the chassis - and I just don´t like it :? . I want it to shine again before it´s crowded with wires.

So - what´s the best method to clean a zinc-plated steel chassis? Is there any substance that can help keep it cleaner? I tried water and cleaning agent - didn´t really help. I´ll try it again with more detergent and rubbing slightly harder. The problem here is that the zinc layer is galvanic and therefore very thin and delicate. I think this is something that shouldn´t be rushed because chemically damaging the zinc layer wouldn´t be a good idea. Any ideas?

User avatar
neikeel
Senior Member
Posts: 7231
Joined: Tue Dec 06, 2005 8:31 am
Location: Suffolk, England

Re: 1969 SB build - the journey begins

Post by neikeel » Fri Jun 21, 2013 6:05 pm

Nothing stronger than DEOXIT IMHO :wink:
Neil

young flower
Senior Member
Posts: 119
Joined: Sun Mar 04, 2012 7:38 pm
Just the numbers in order: 13492
Location: Austria, Vienna

Re: 1969 SB build - the journey begins

Post by young flower » Fri Jun 21, 2013 6:33 pm

Thanks Neil - I think the problem is a more profound one though. I found out that the blue chrome passivation on my chassis is much inferior to a yellow one. The yellow passivation provides better corrosion resistance and durability. I was toying around with the idea to have it re-galvanised and passivated yellow before. Now I´m thinking about it again.

It´s difficult to show it in pictures but the chassis is actually looking NOT GOOD inside and outside already - although it´s new. I didn´t notice it so clearly before - but now that the weather is really hot and humid one can really see it getting worse day by day. There´s also zinc oxide developing on the welded corners already - showing as distinct white, grainy streaks.

If I have it re-galvanised now there won´t be much lost - just unsoldering a few resistors and unscrewing a few components. Taking the whole thing to a galvanizer and it´s taken care of for a lifetime.

Or do you think Deoxit can protect it on the long run? Or is there any other substance I could use to give the chassis an additional long-lasting protective layer?

young flower
Senior Member
Posts: 119
Joined: Sun Mar 04, 2012 7:38 pm
Just the numbers in order: 13492
Location: Austria, Vienna

Re: 1969 SB build - the journey begins

Post by young flower » Fri Jun 21, 2013 7:21 pm

Nice - just realized that the laminations on my trannies and the frame of the choke already have rust spots on the surface. Damn - I think I have to disassemble that amp, re-galvanise the chassis (with a THICK layer of chrome oxide) and paint the outsides of the laminations on the trannies with clear laquer.

Post Reply